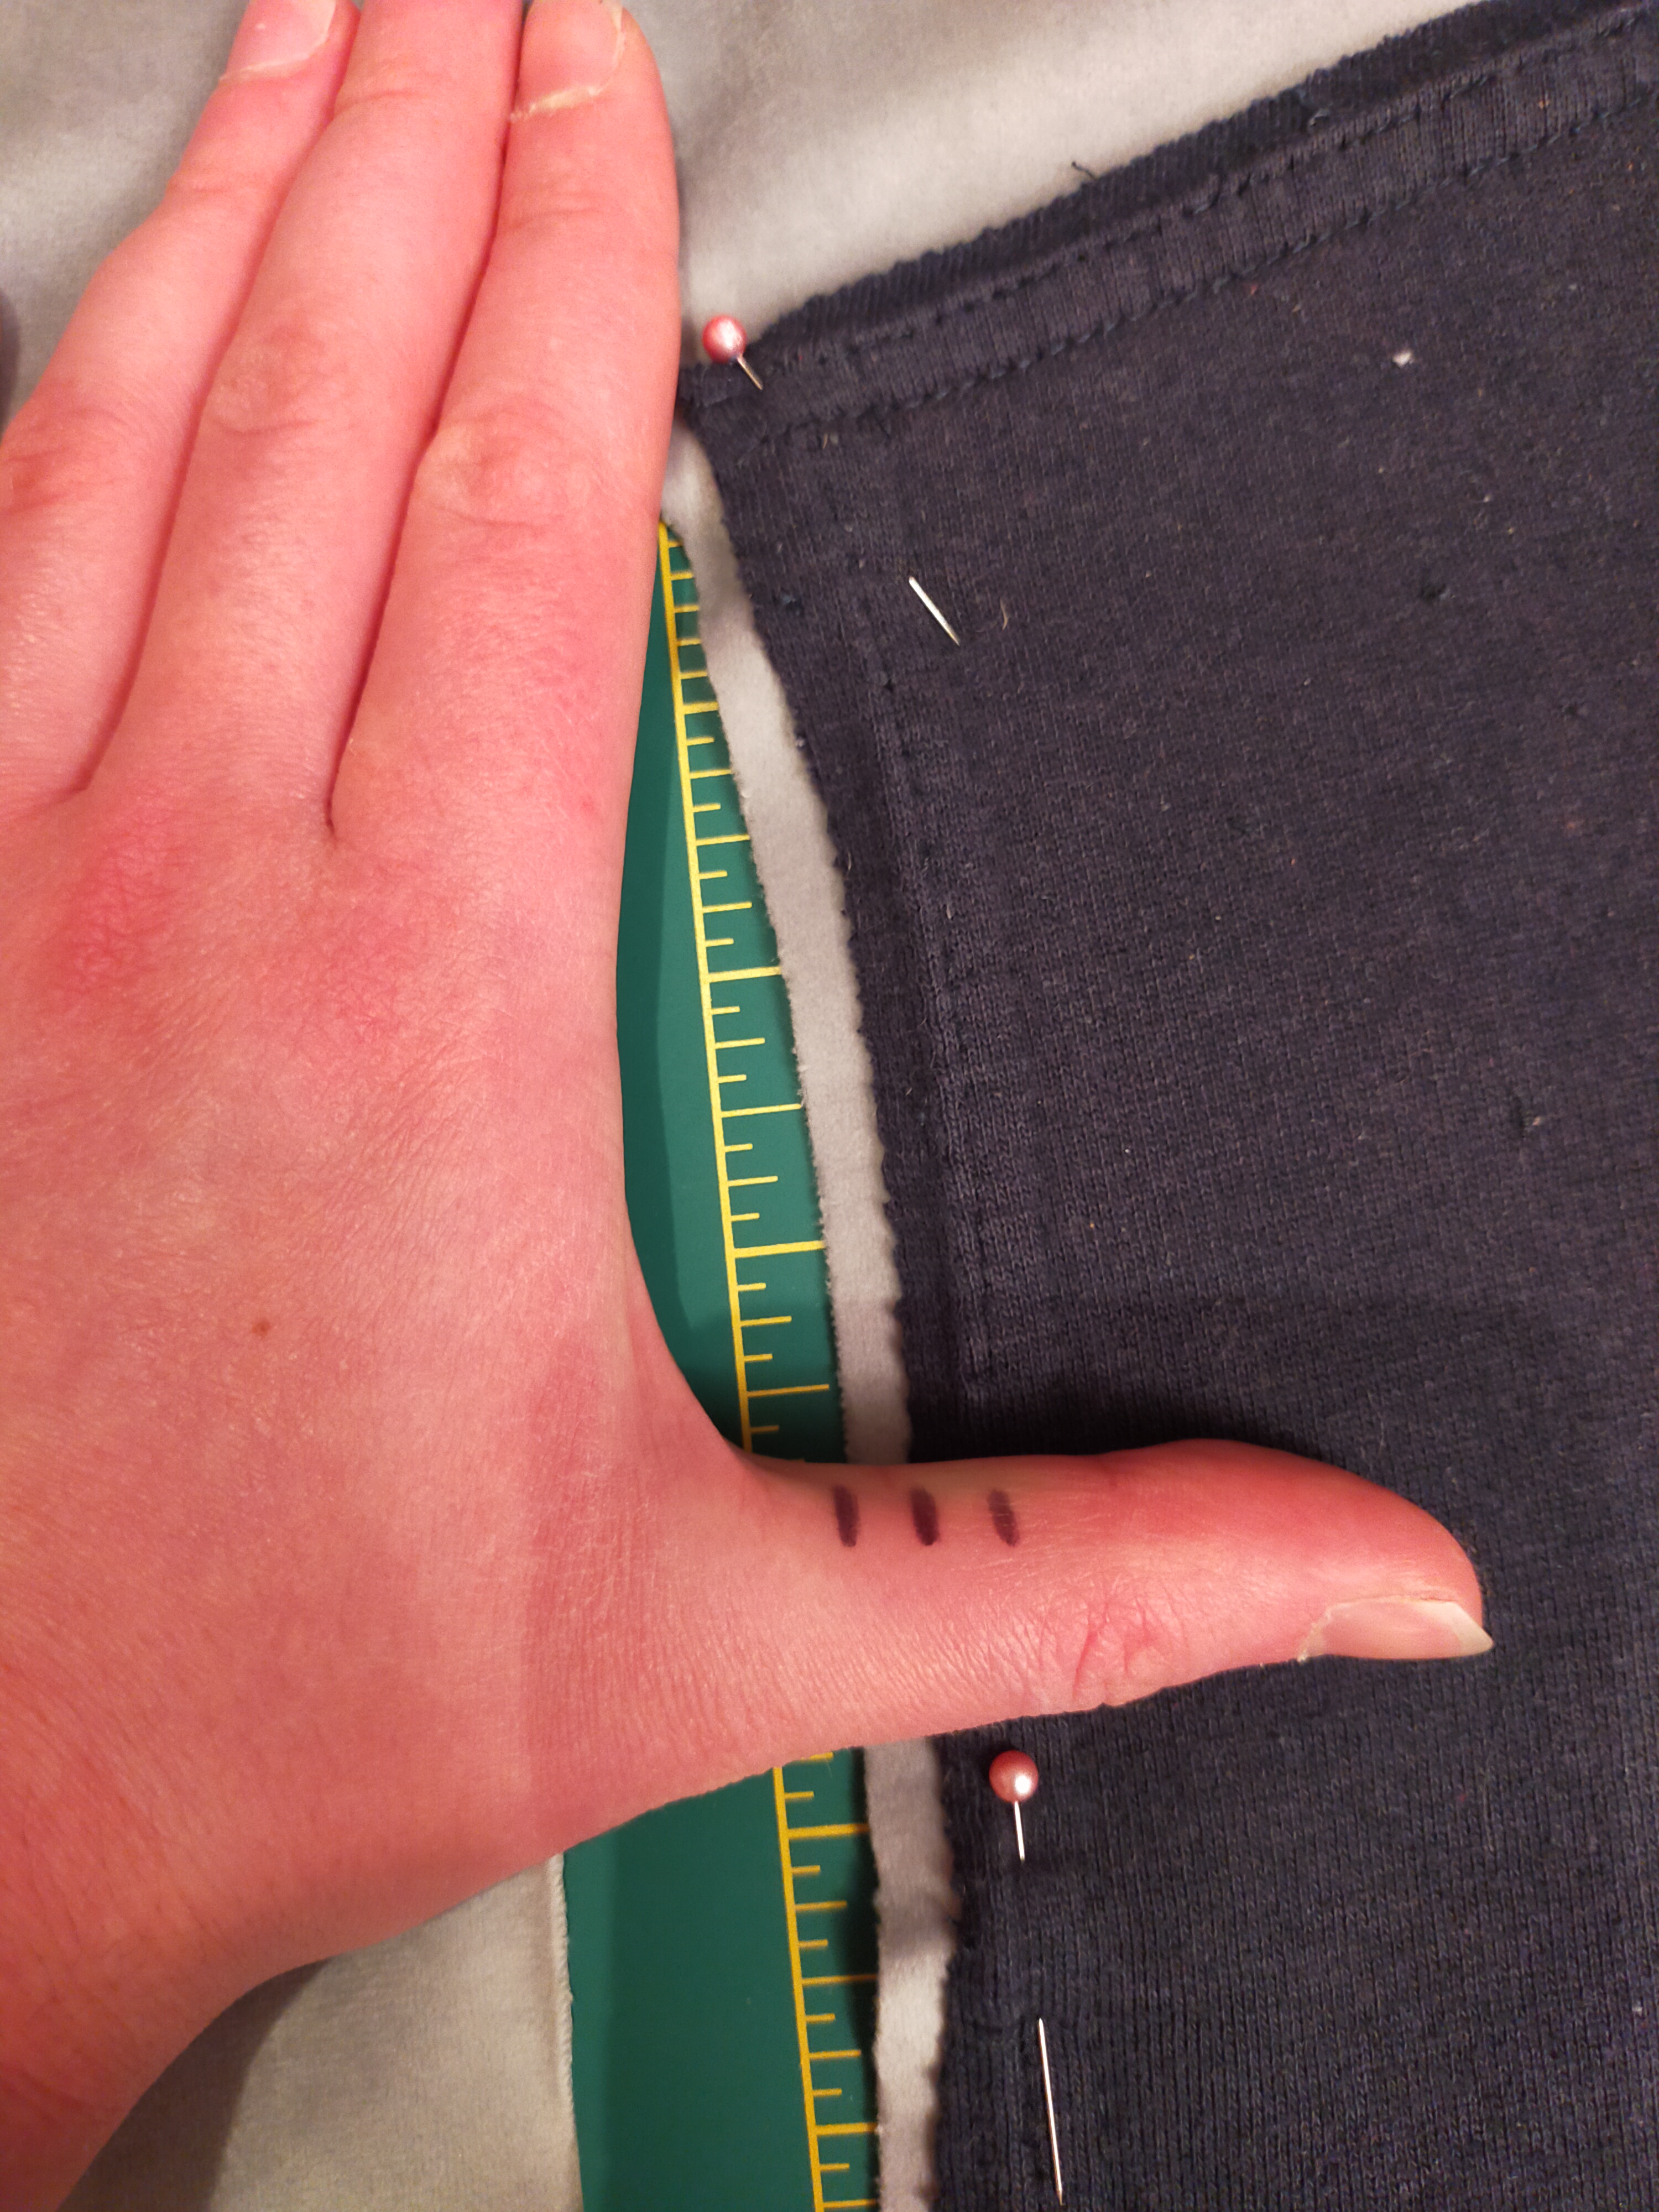
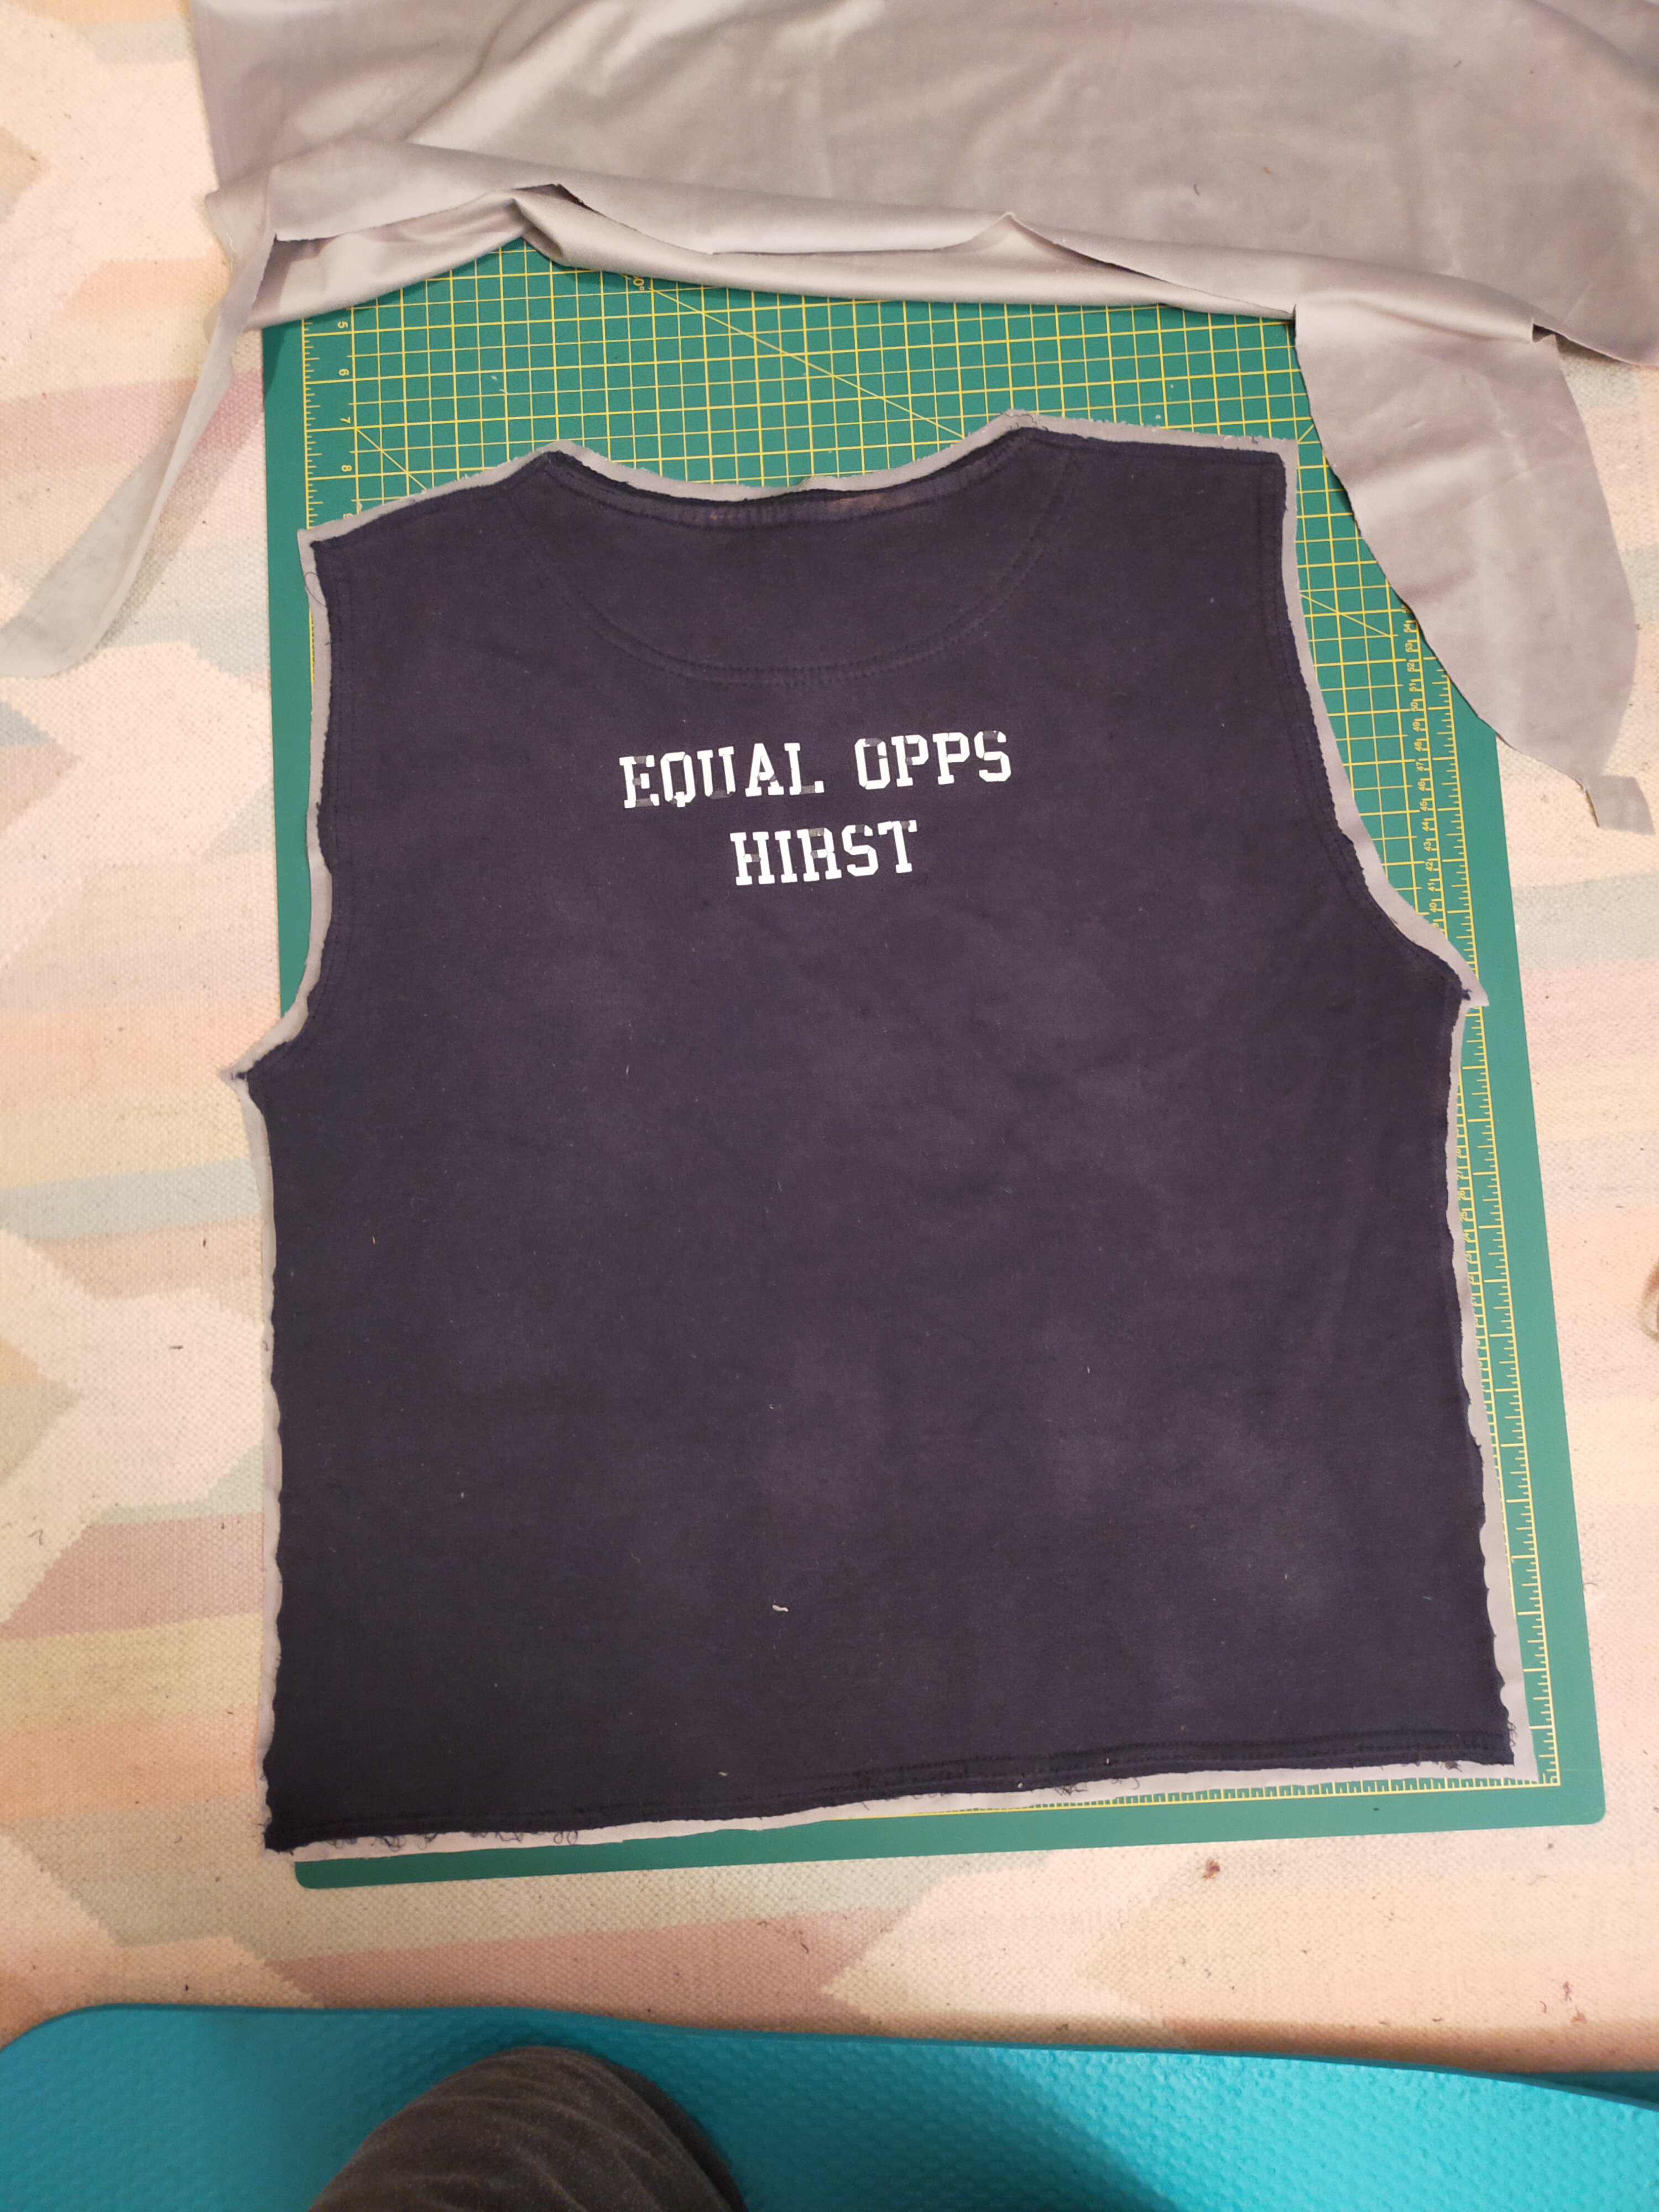
Pattern cutting- I didn’t use a real pattern, I used an old sweatshirt that fit me well but was too tired and bleach-stained to resuscitate (I had already jazzed it up once with a stencilled print!). Carefully deconstructed it, measured the cuffs, inspected the seams to check the SA, made notes on order of construction, etc.
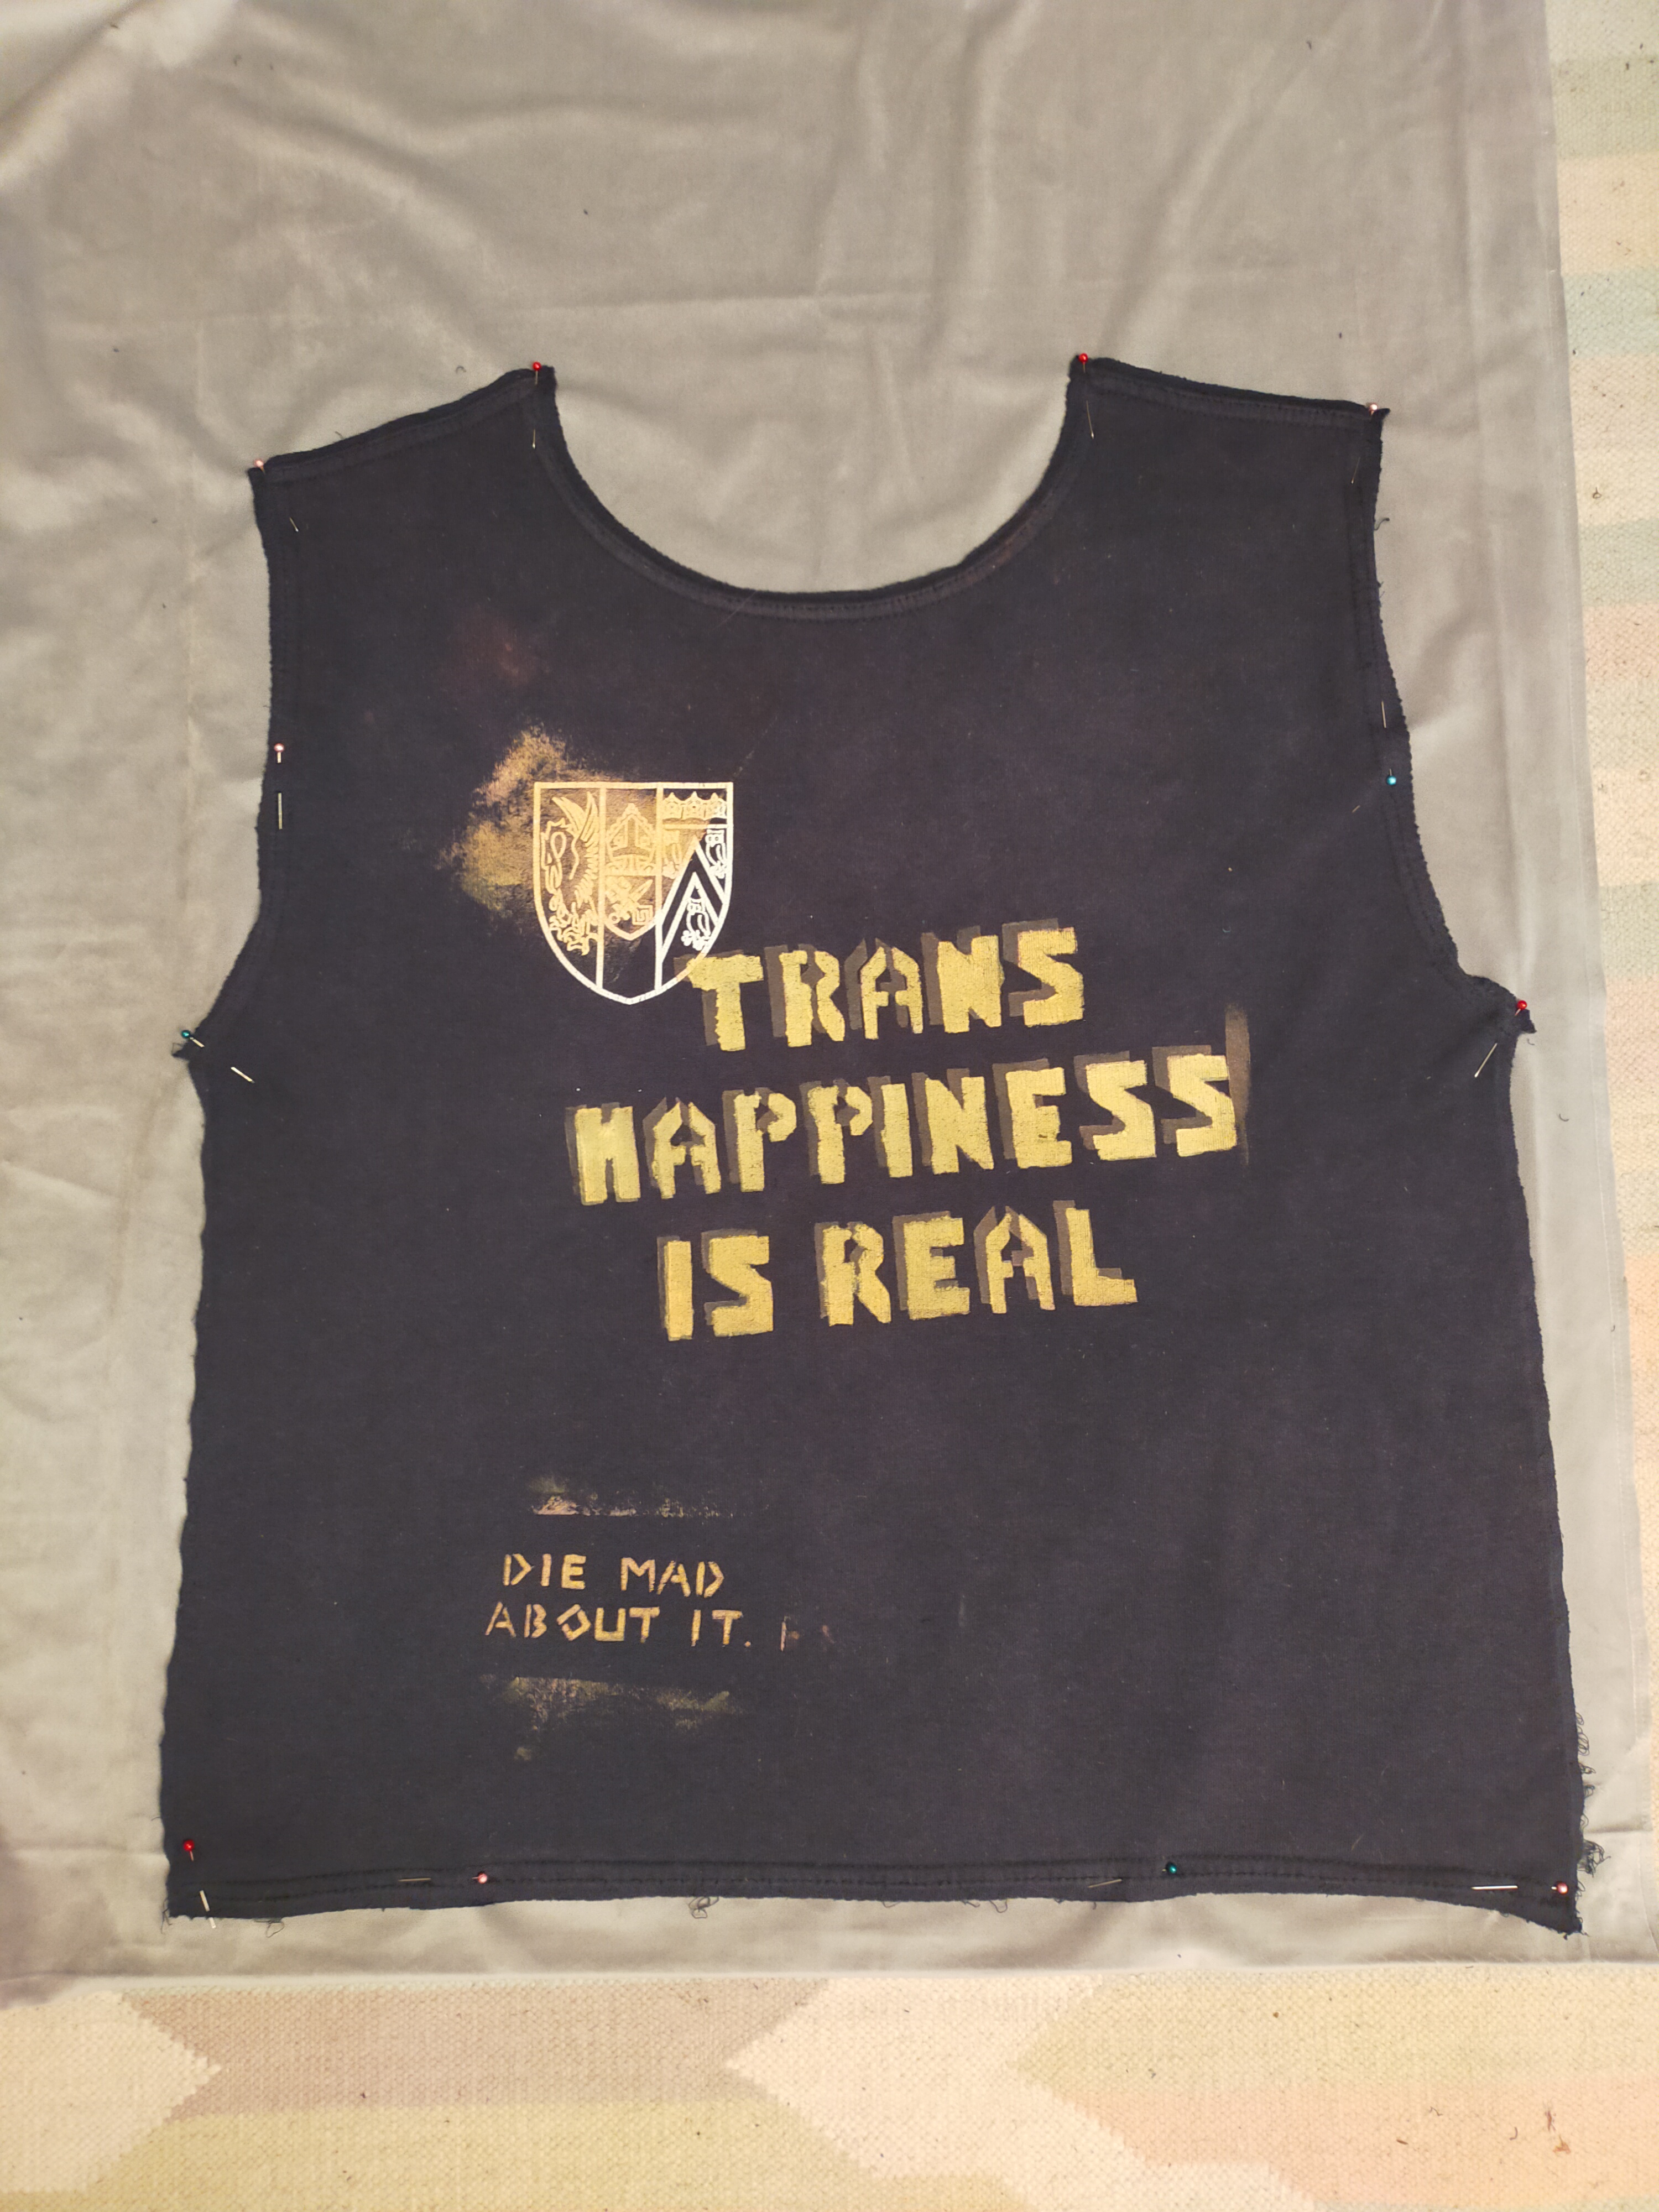
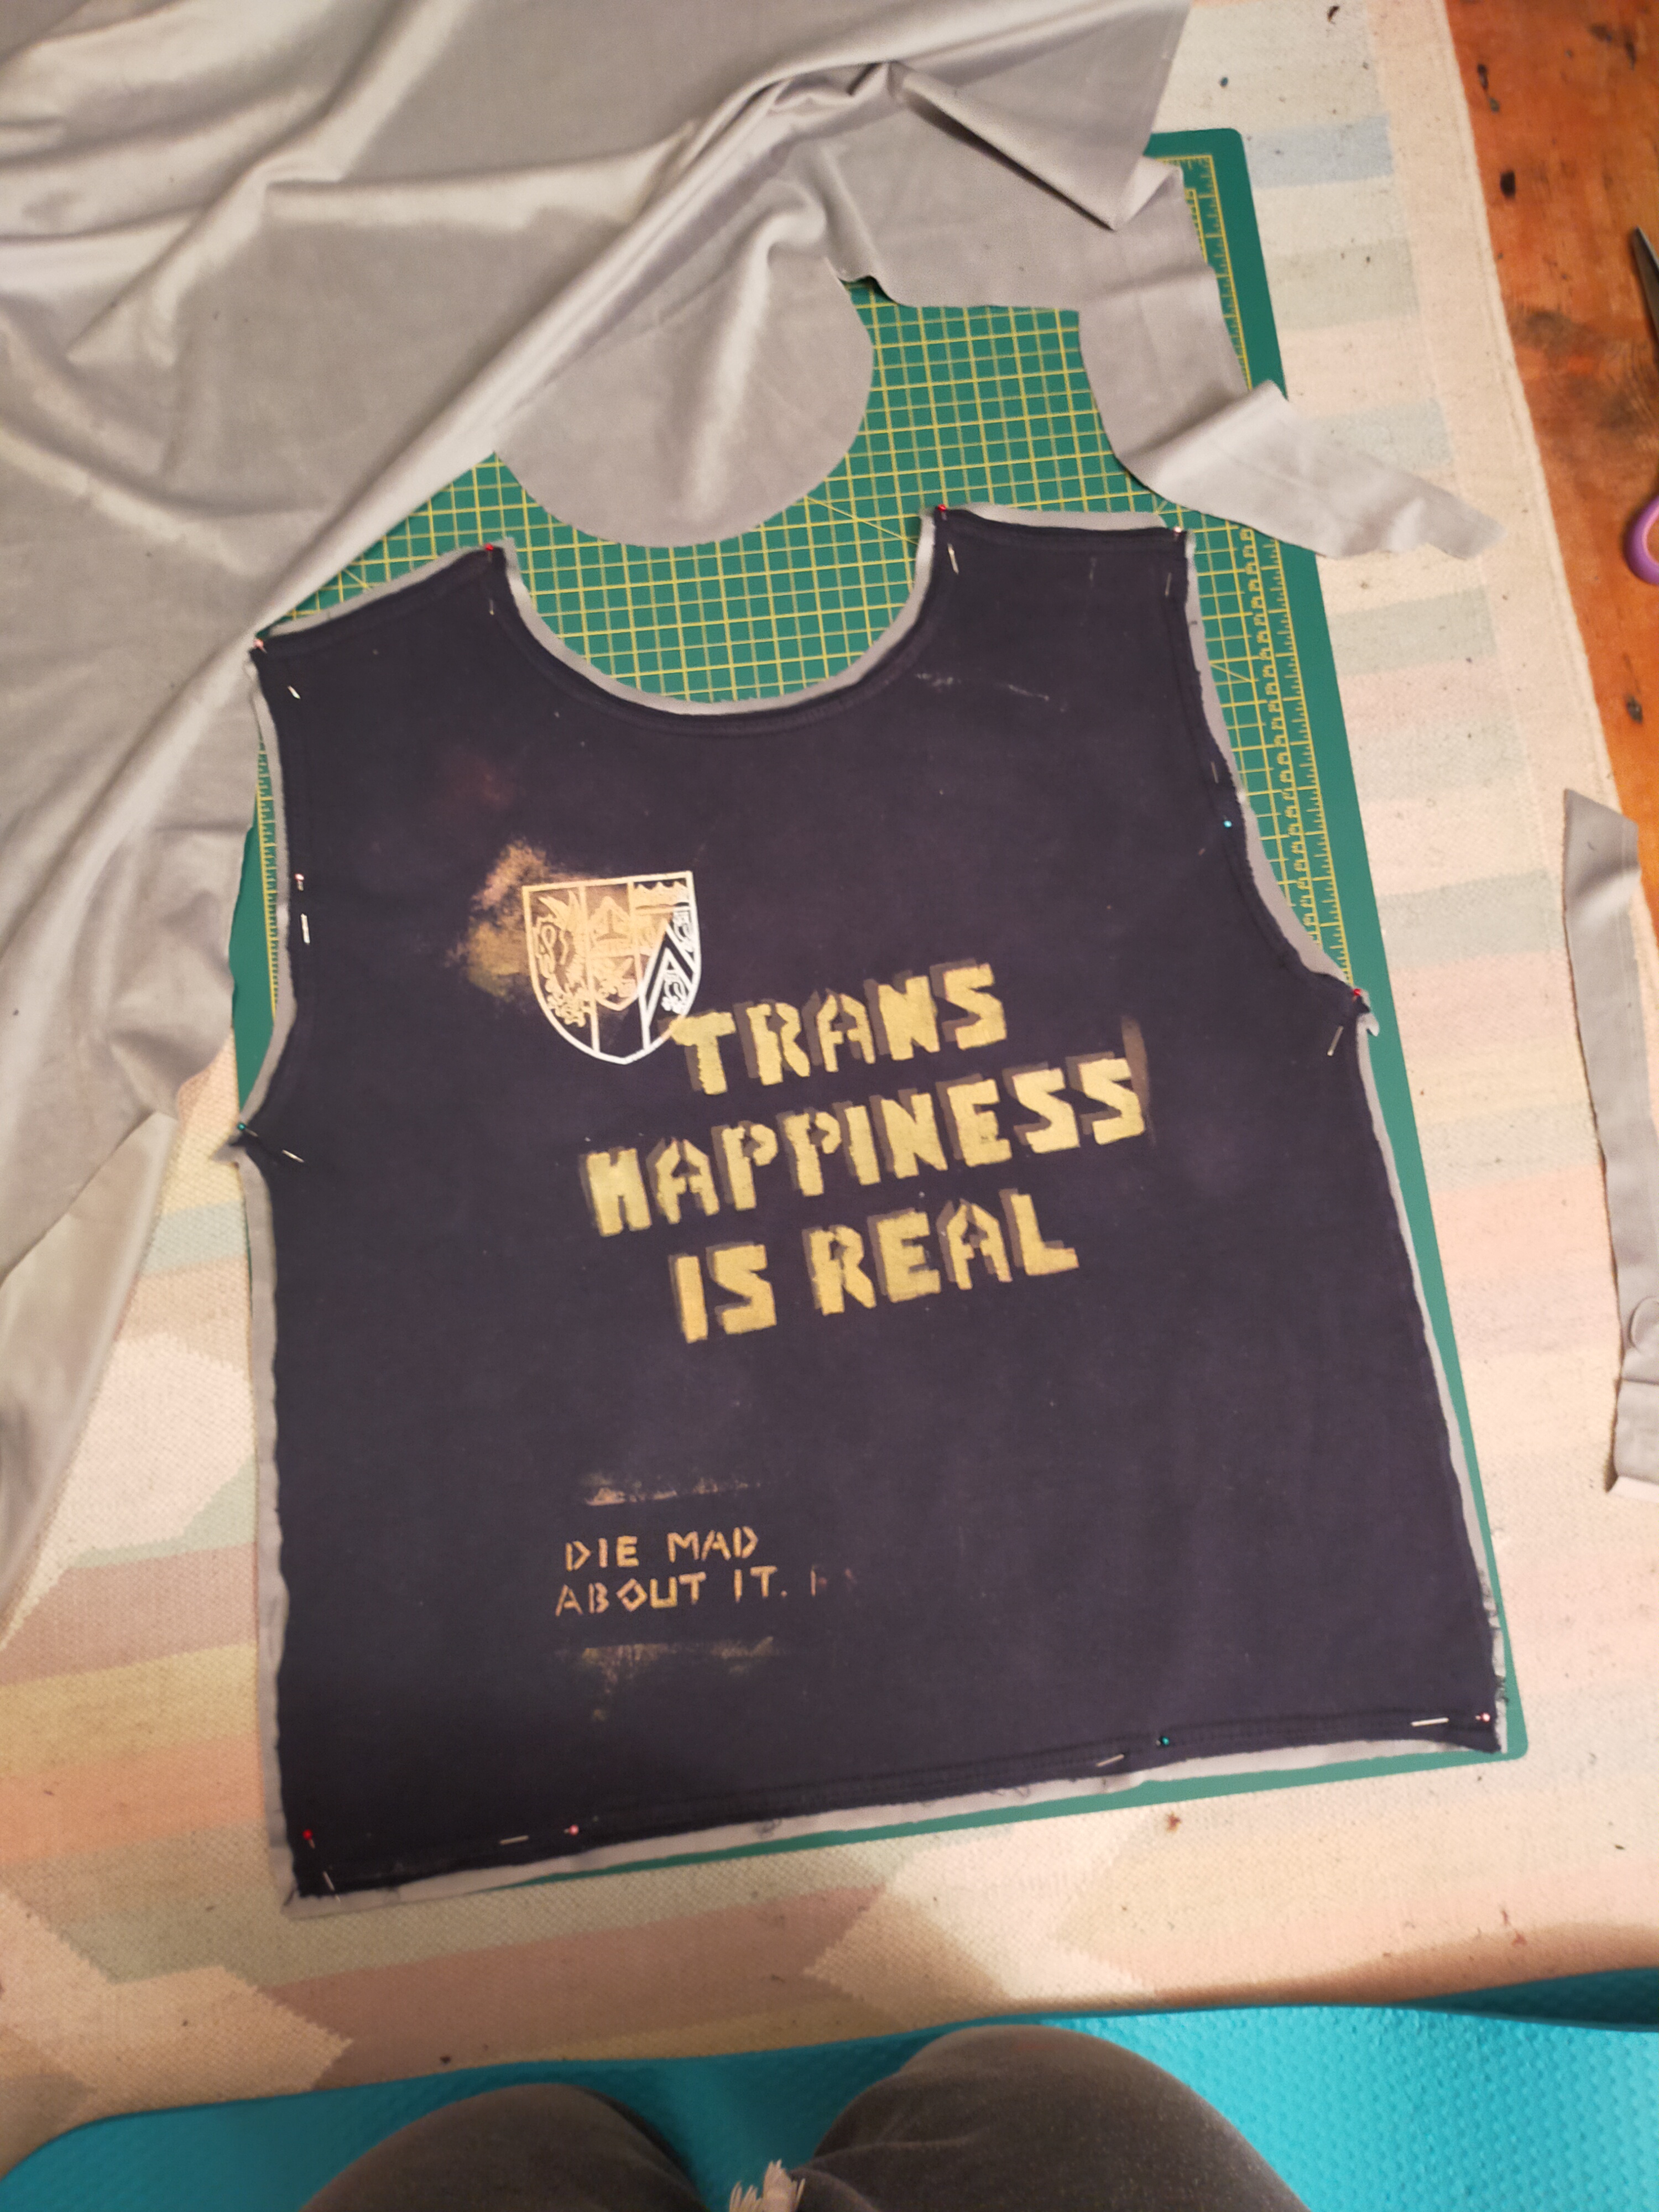
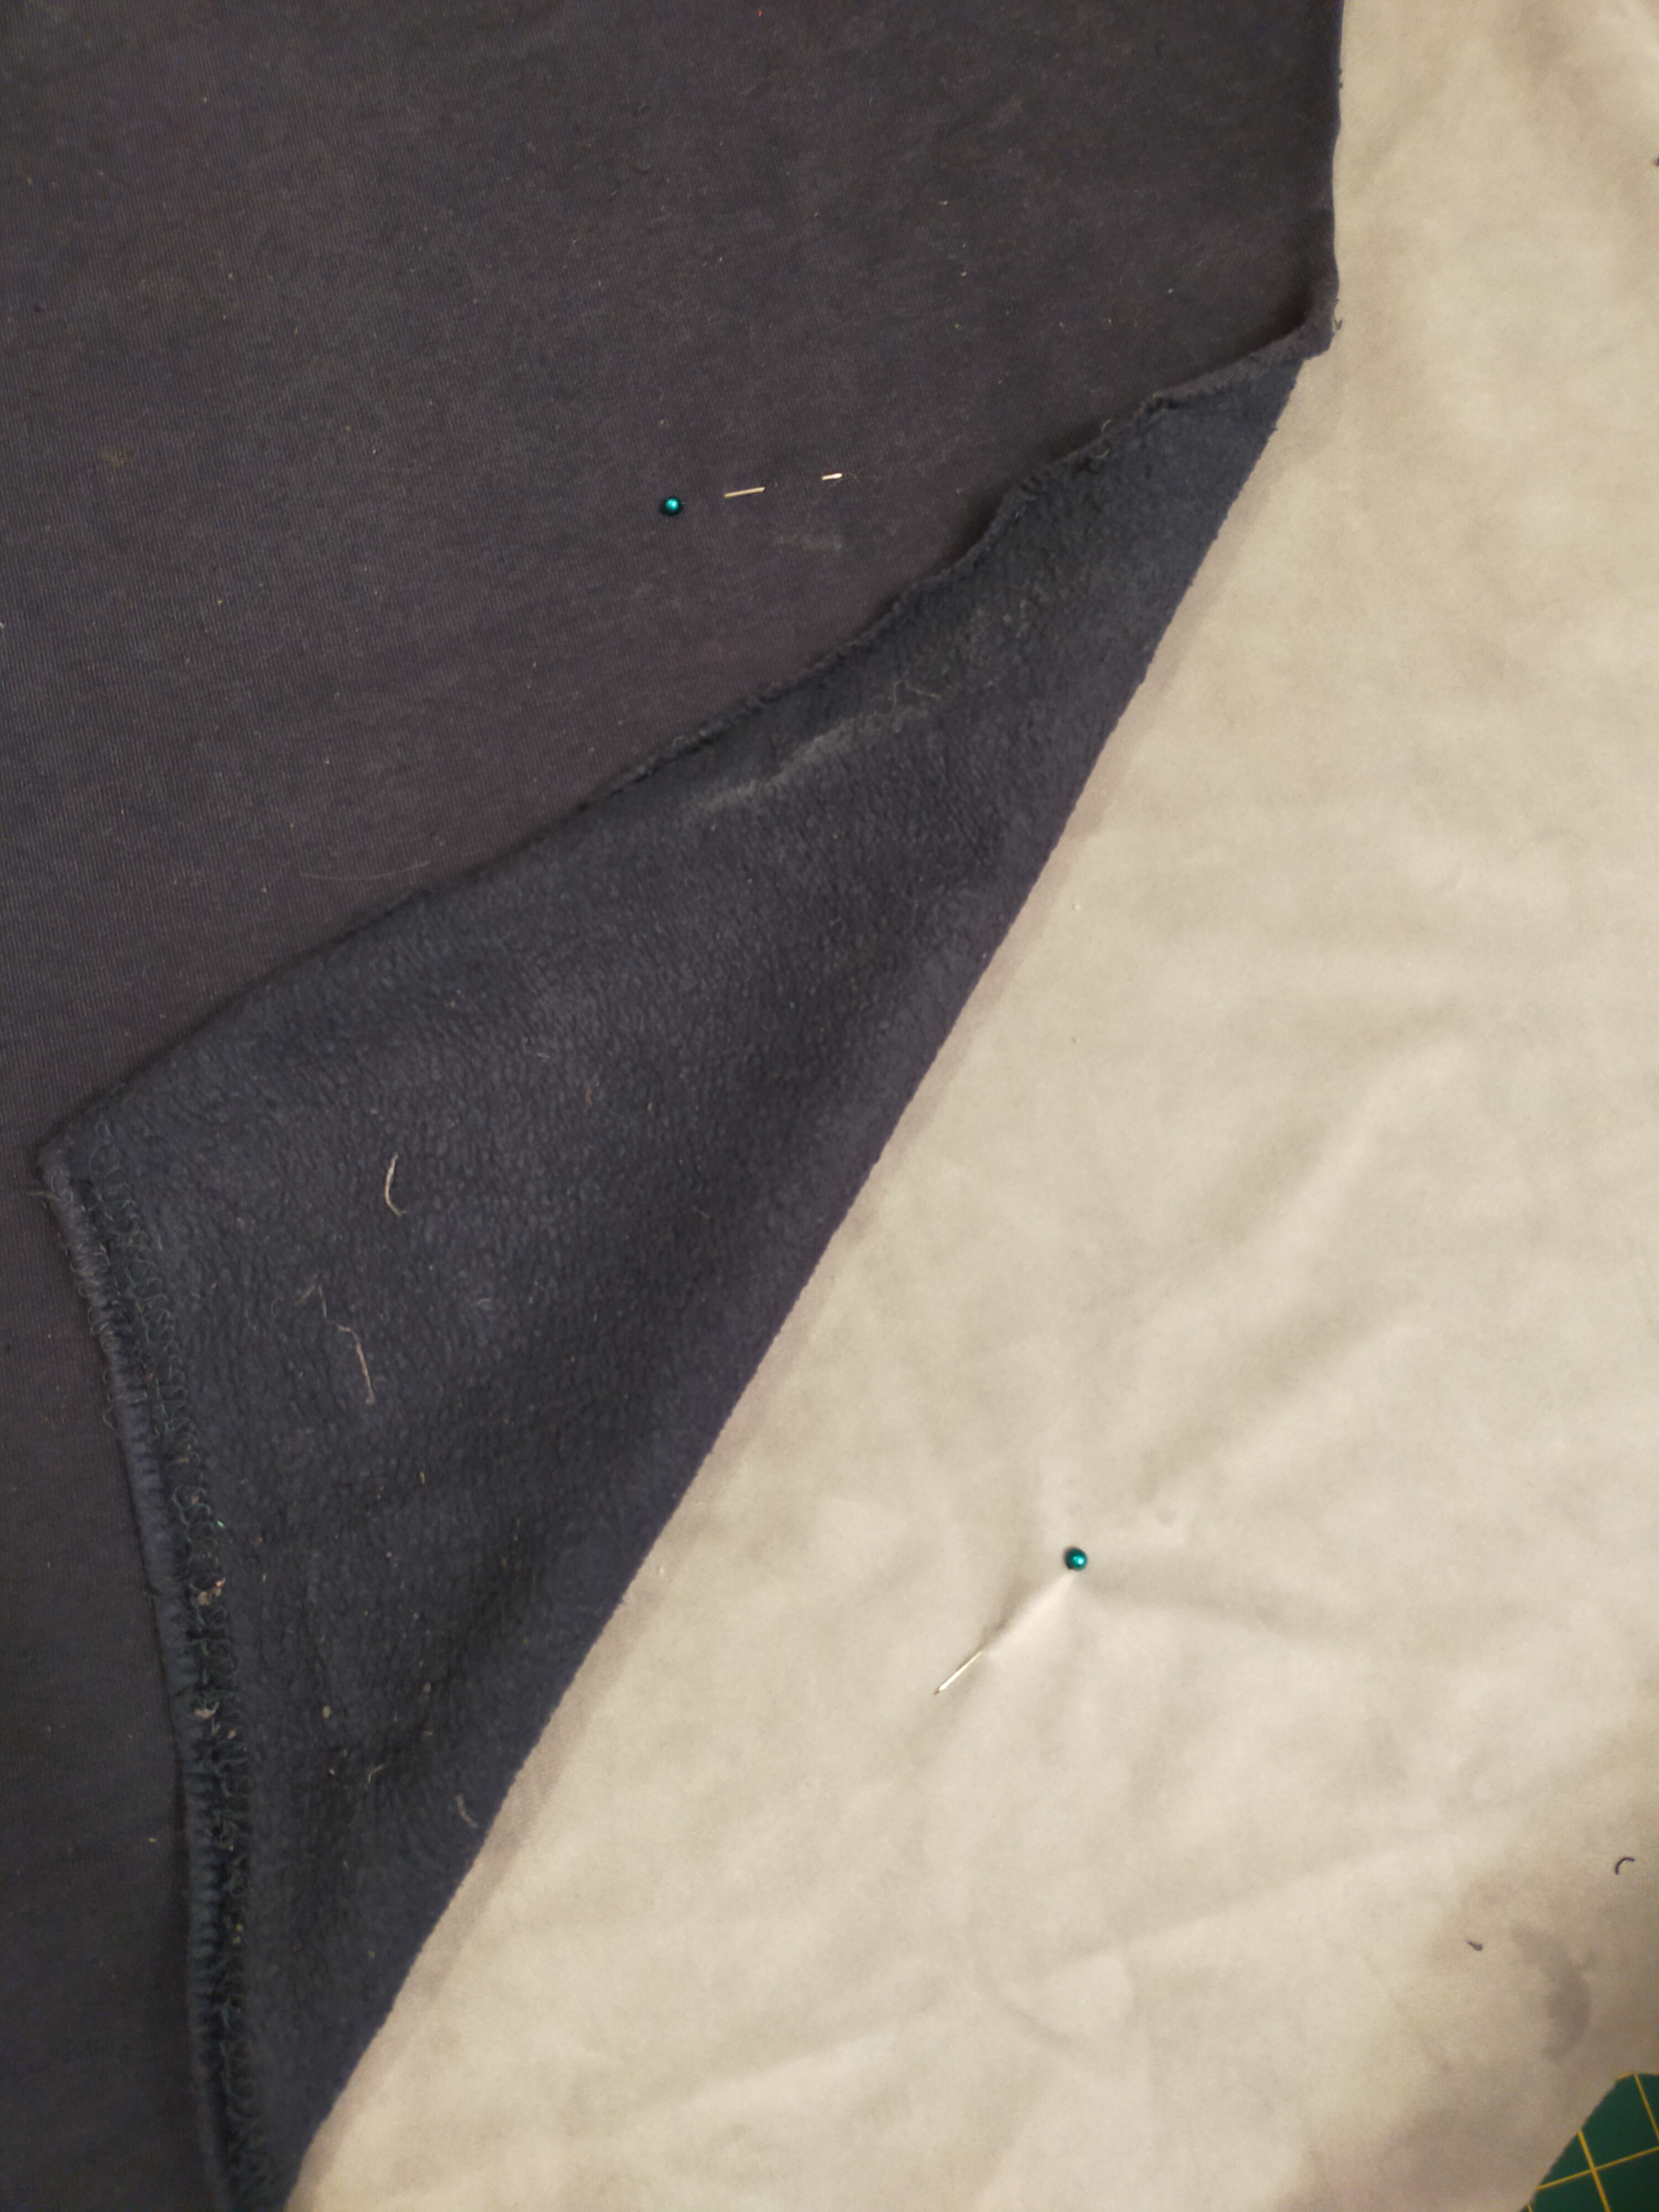
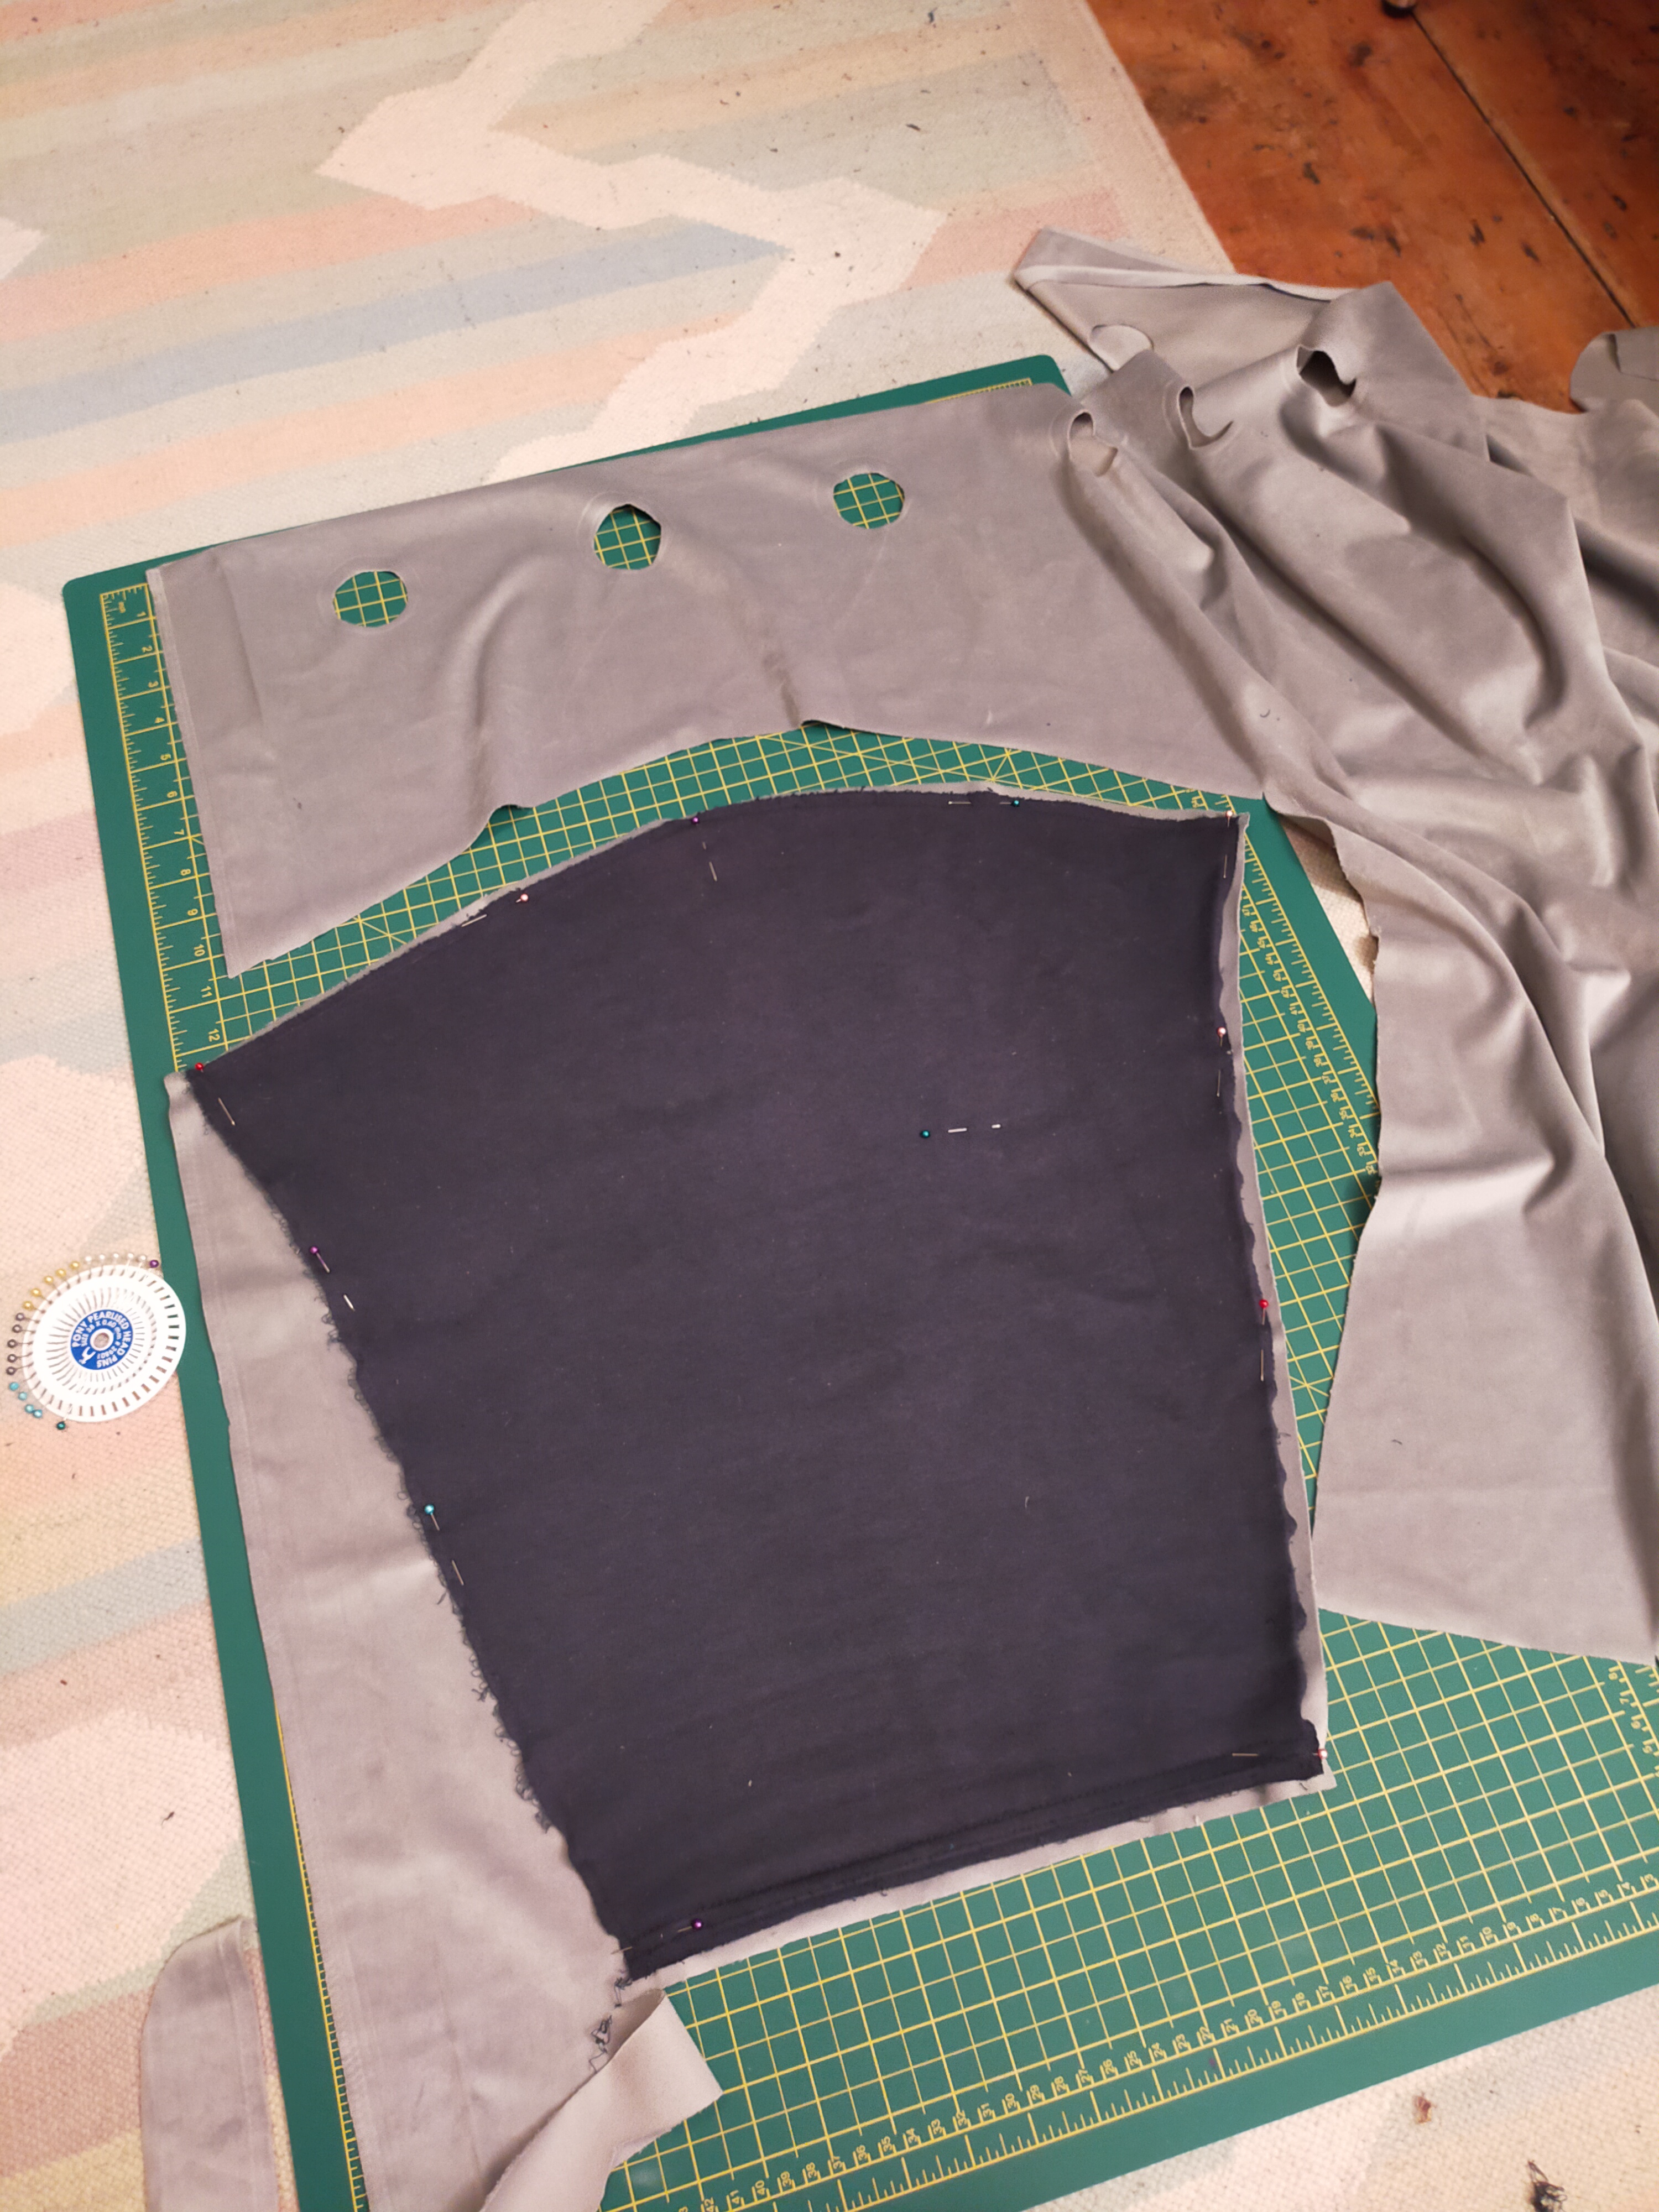
Original sweatshirt had the sleeves sewn in flat so I’m going to do that. Cuffs, waist, and neck ribbing are all going to be reused from other garments that were cut up for other reasons (for a quilt, to be shortened, seat was worn out).
But first: machine embroidery! Winging it, here we go.
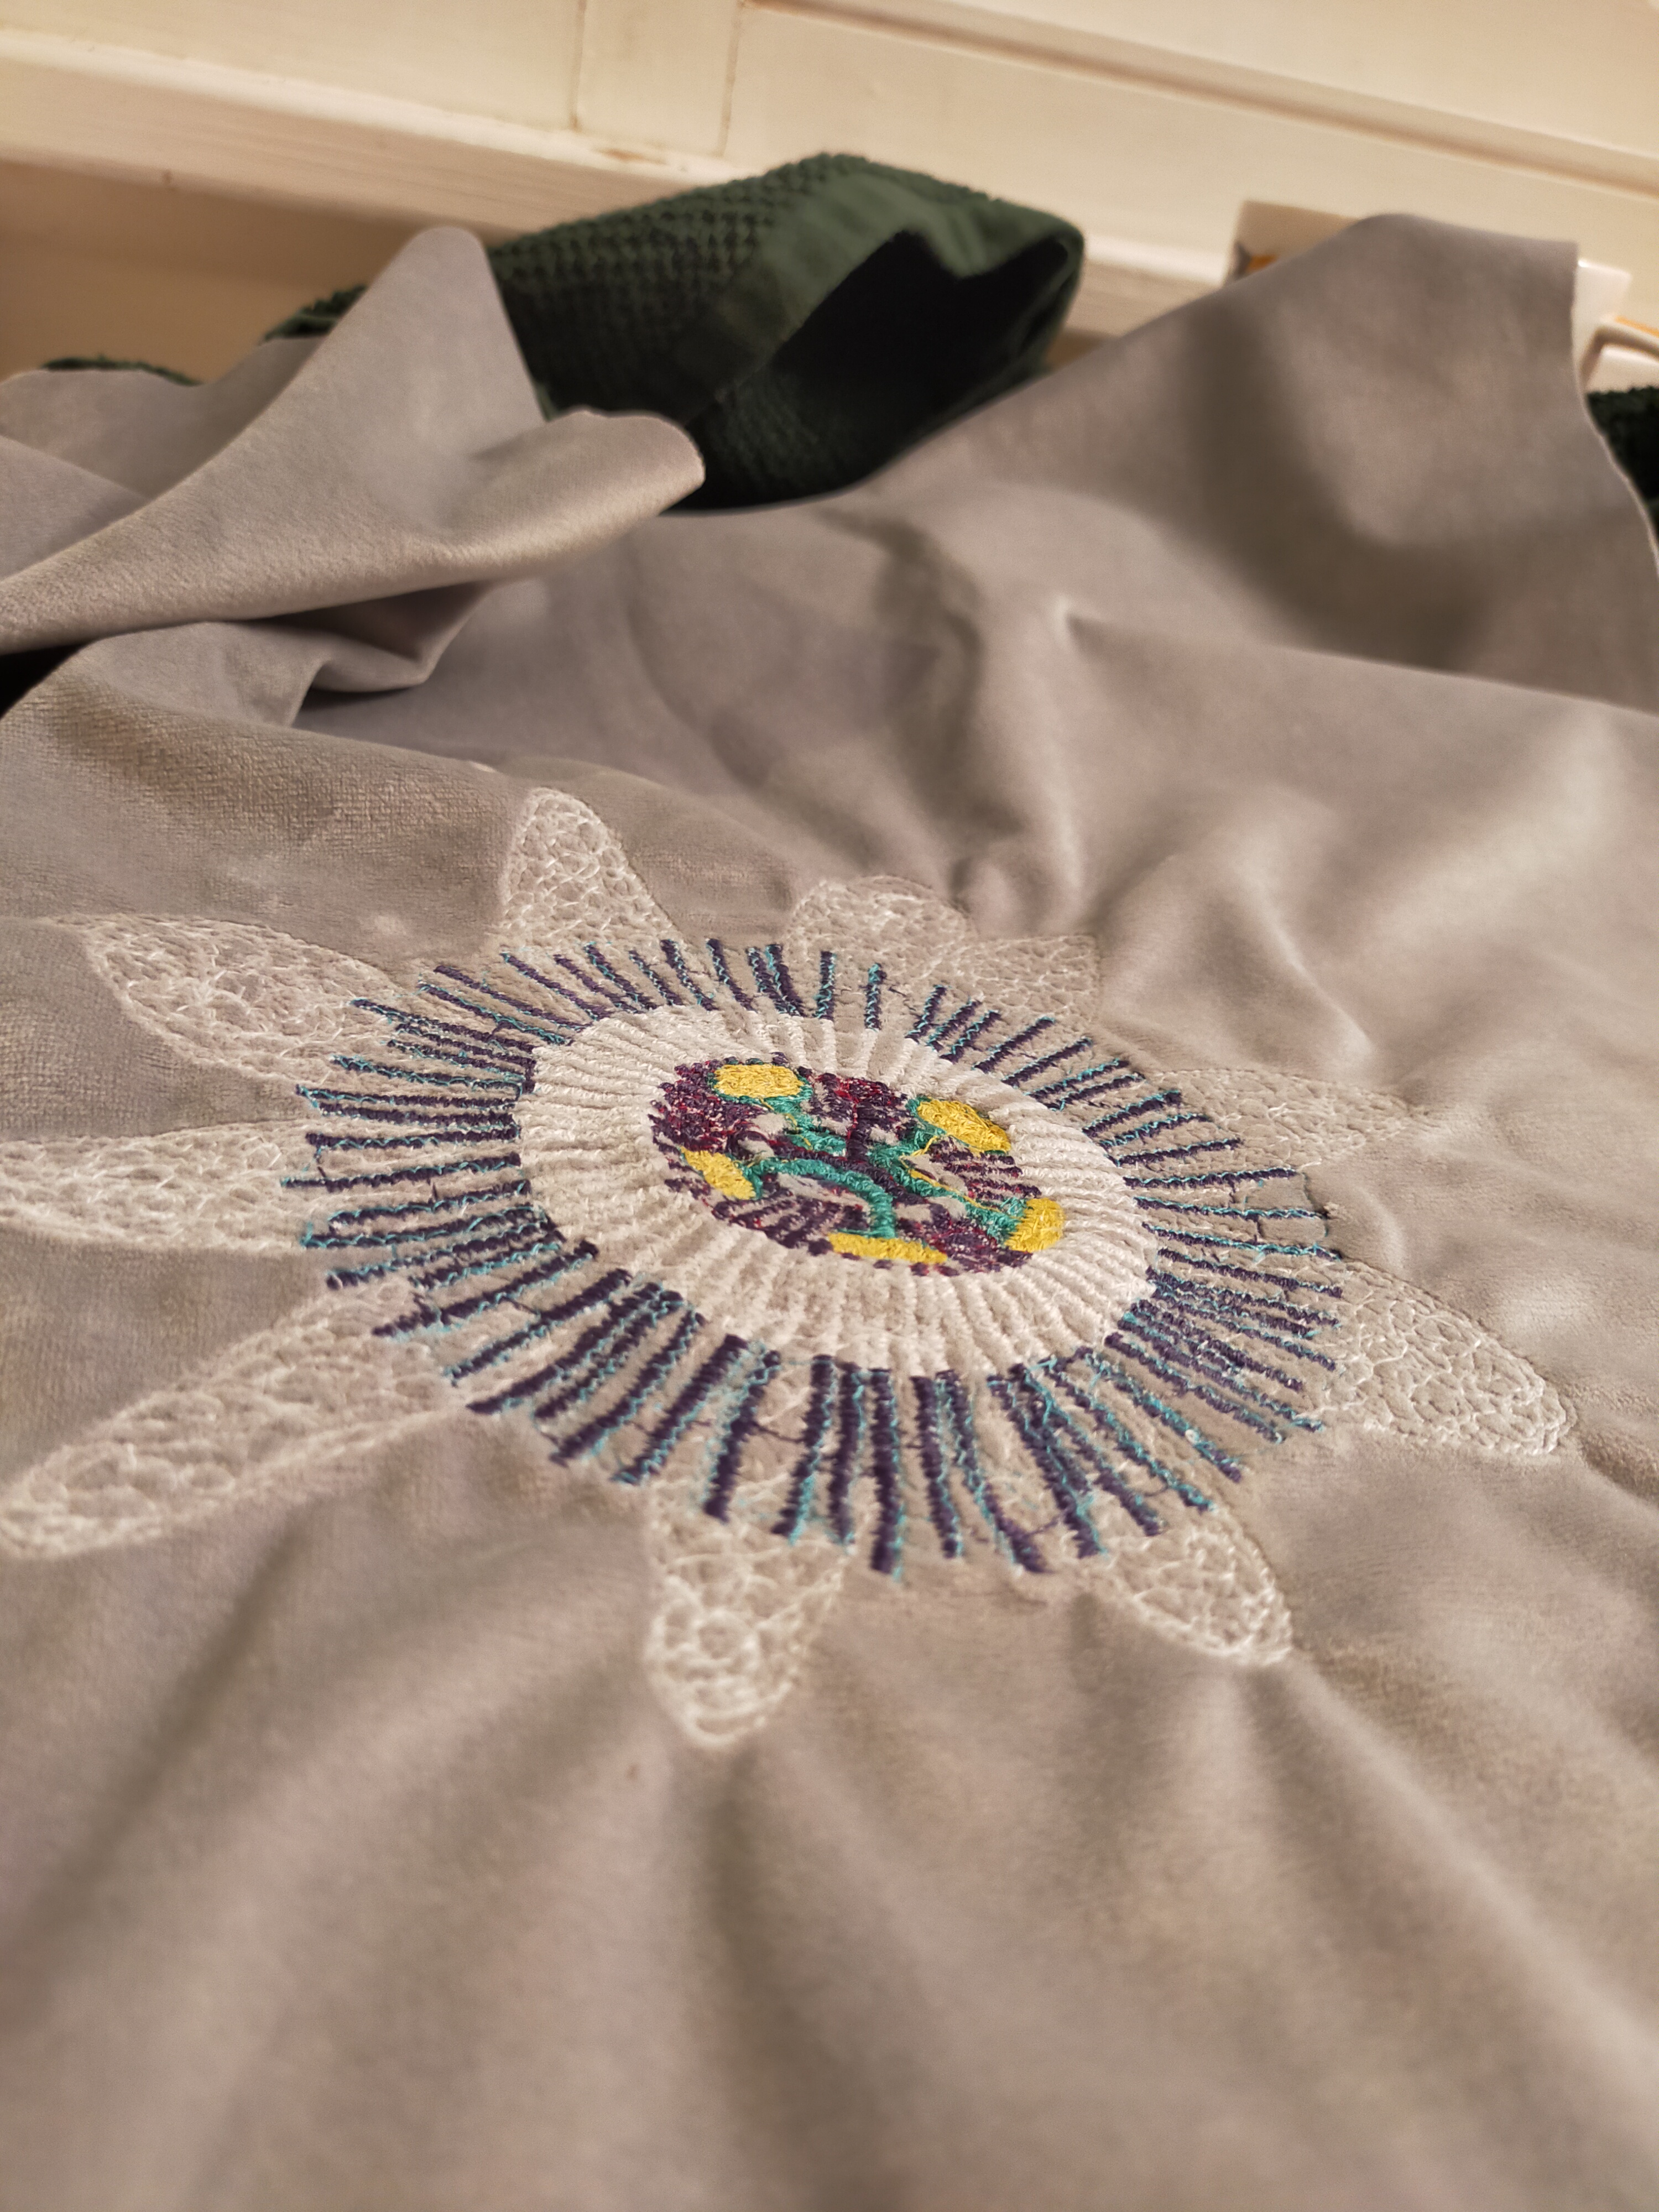
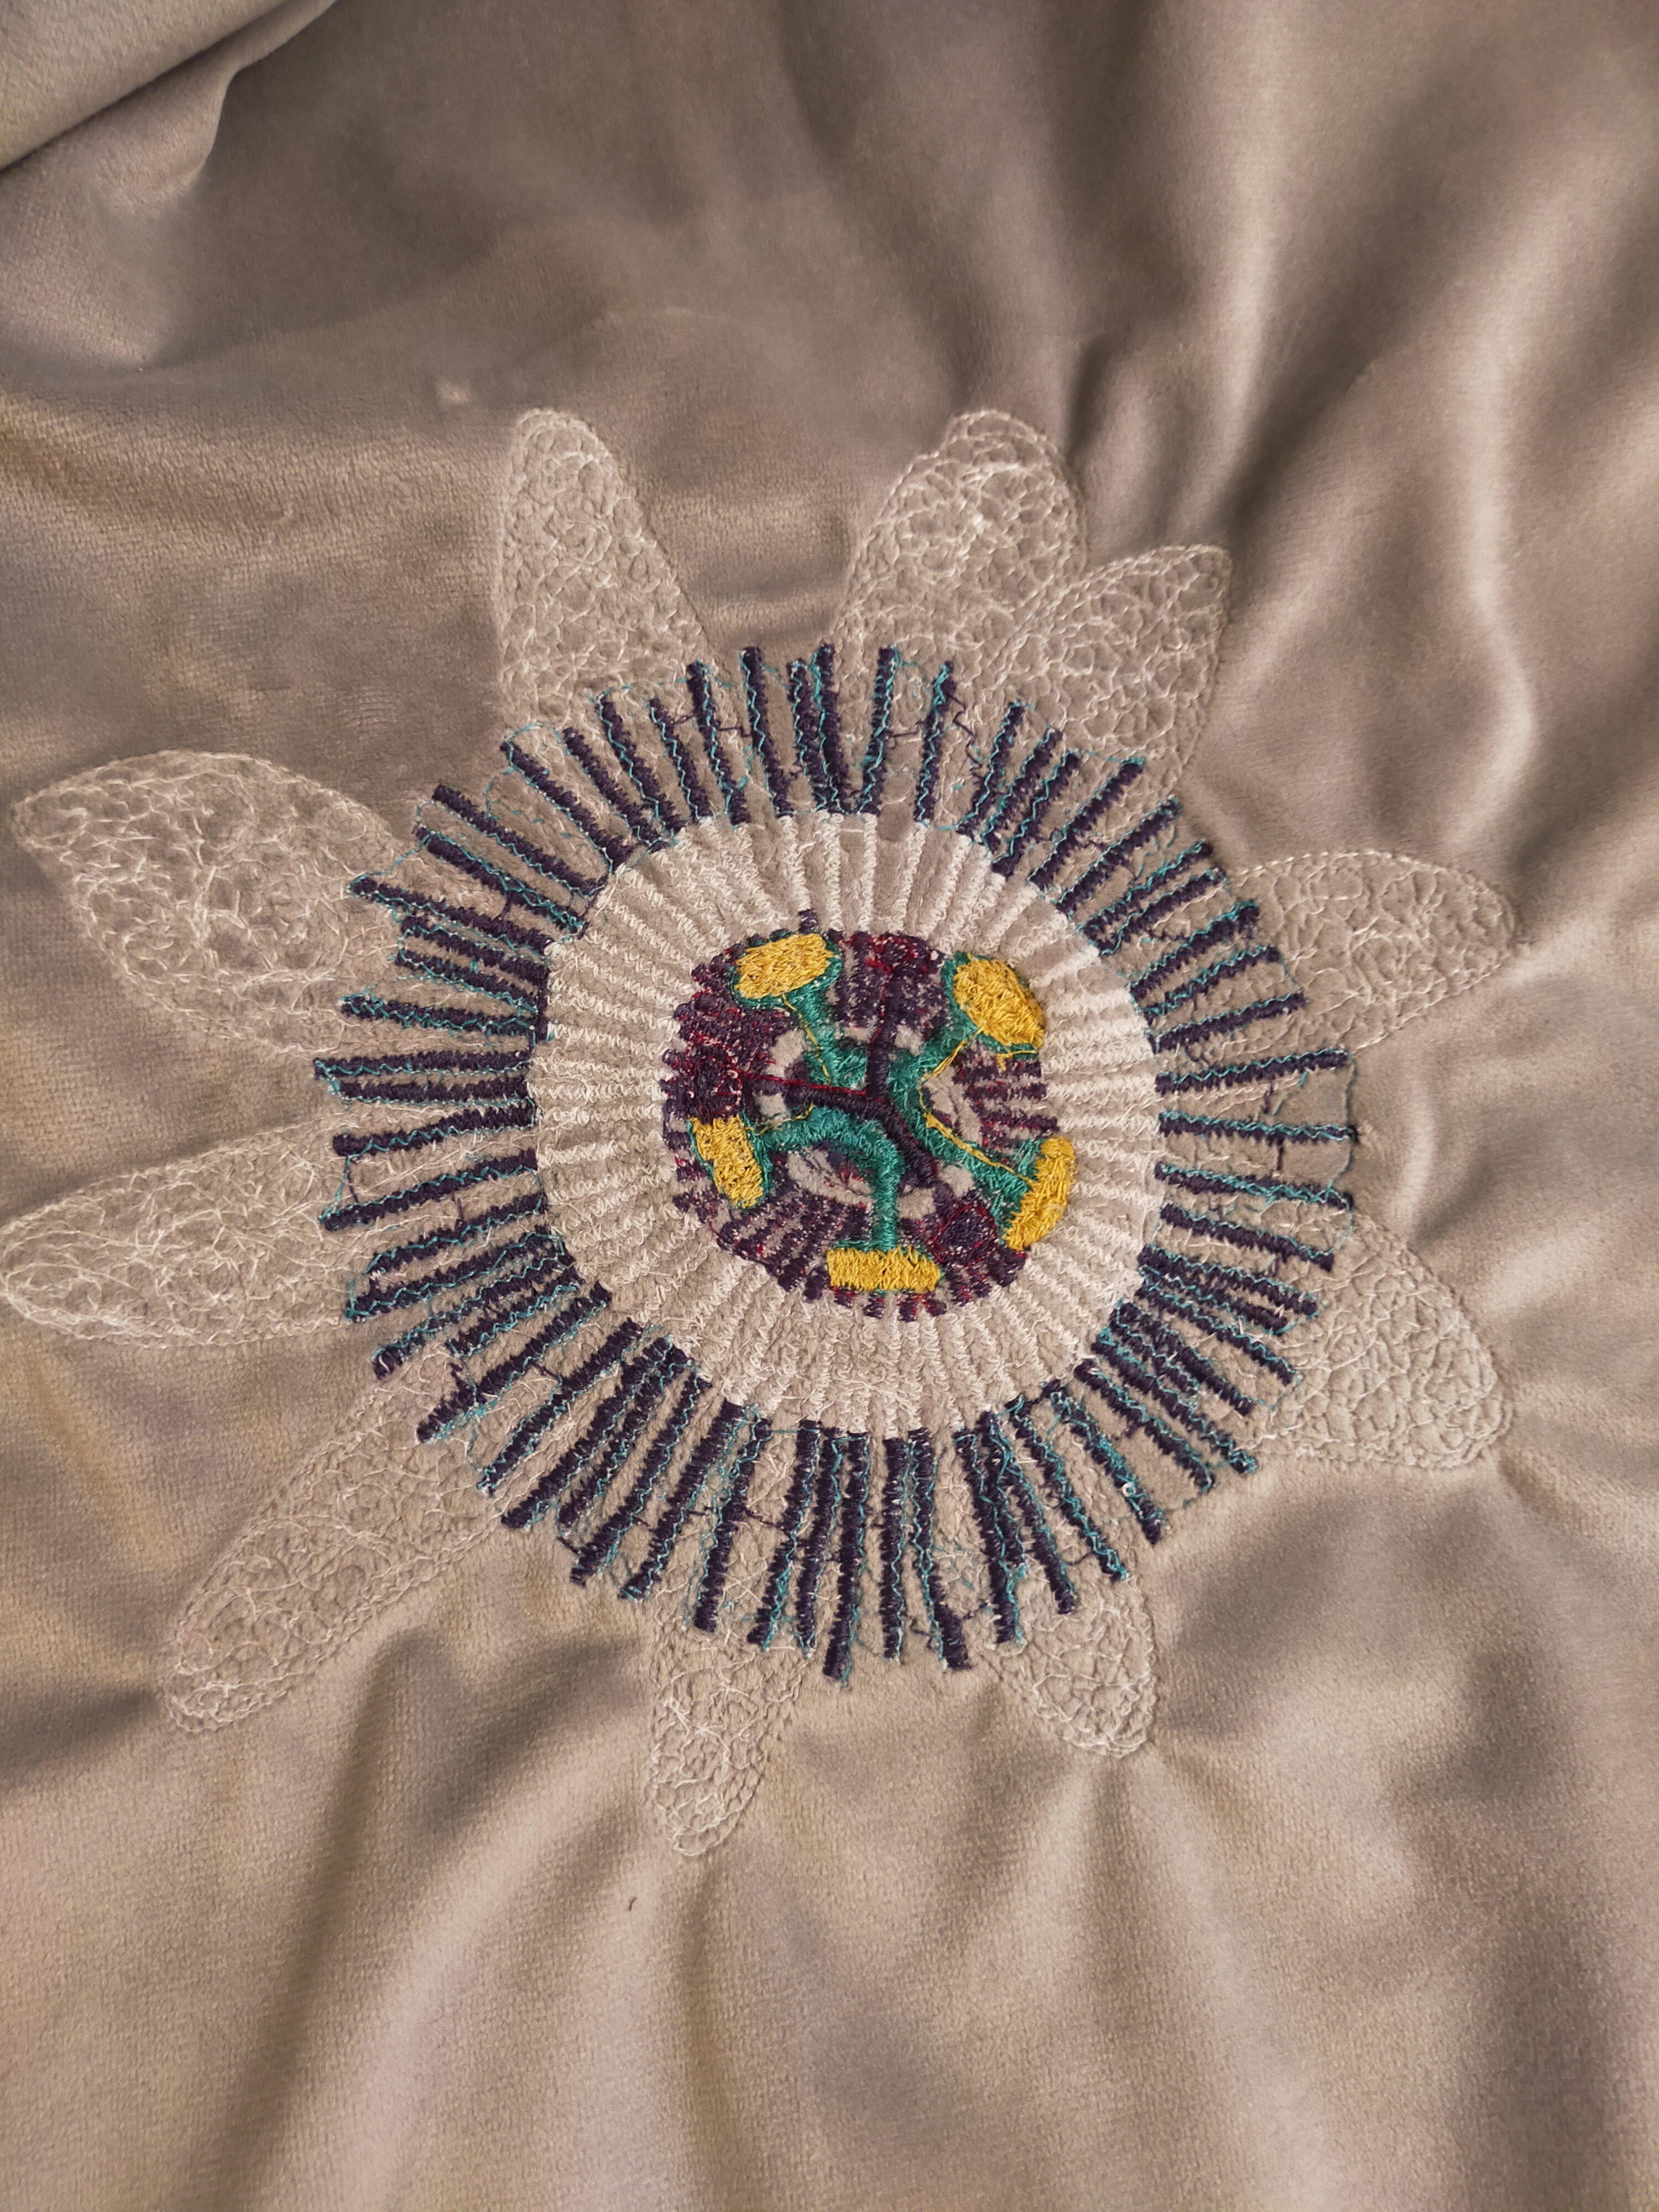
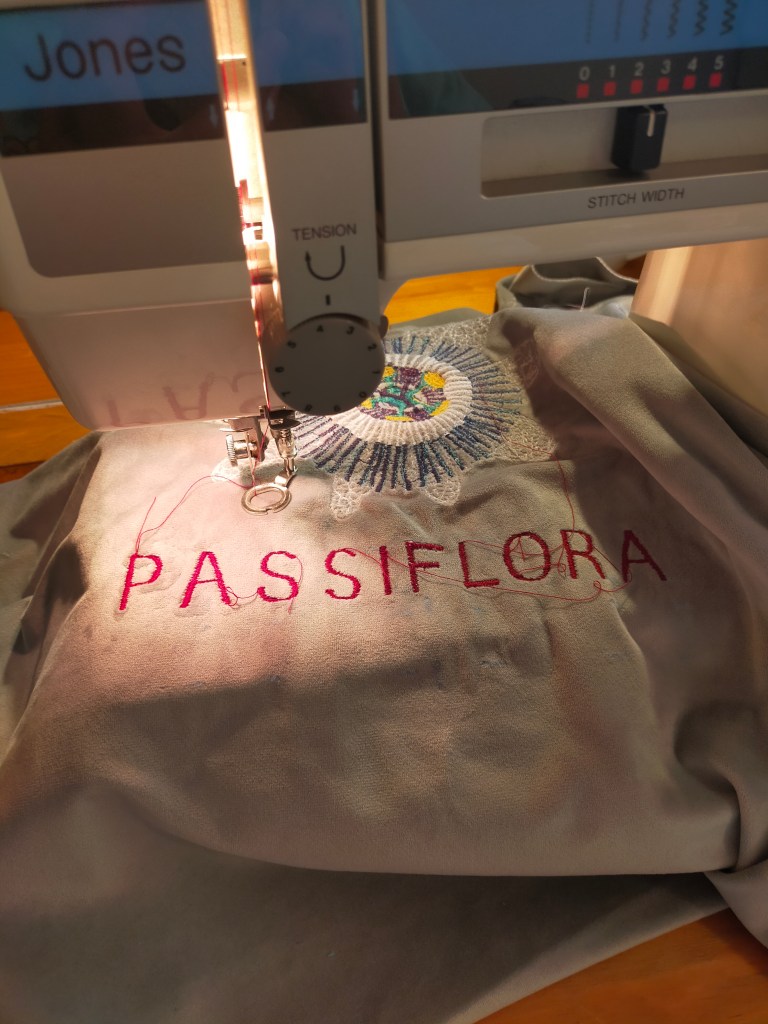
Not a lot of planning, the plan is to learn on the job. The fabric is grey velour I found as a discarded display curtain in the remnant bin – so this is not an expensive experiment. I just sketched out a passionflower in my sketchbook for reference and order of colours, and picked my thread colours.

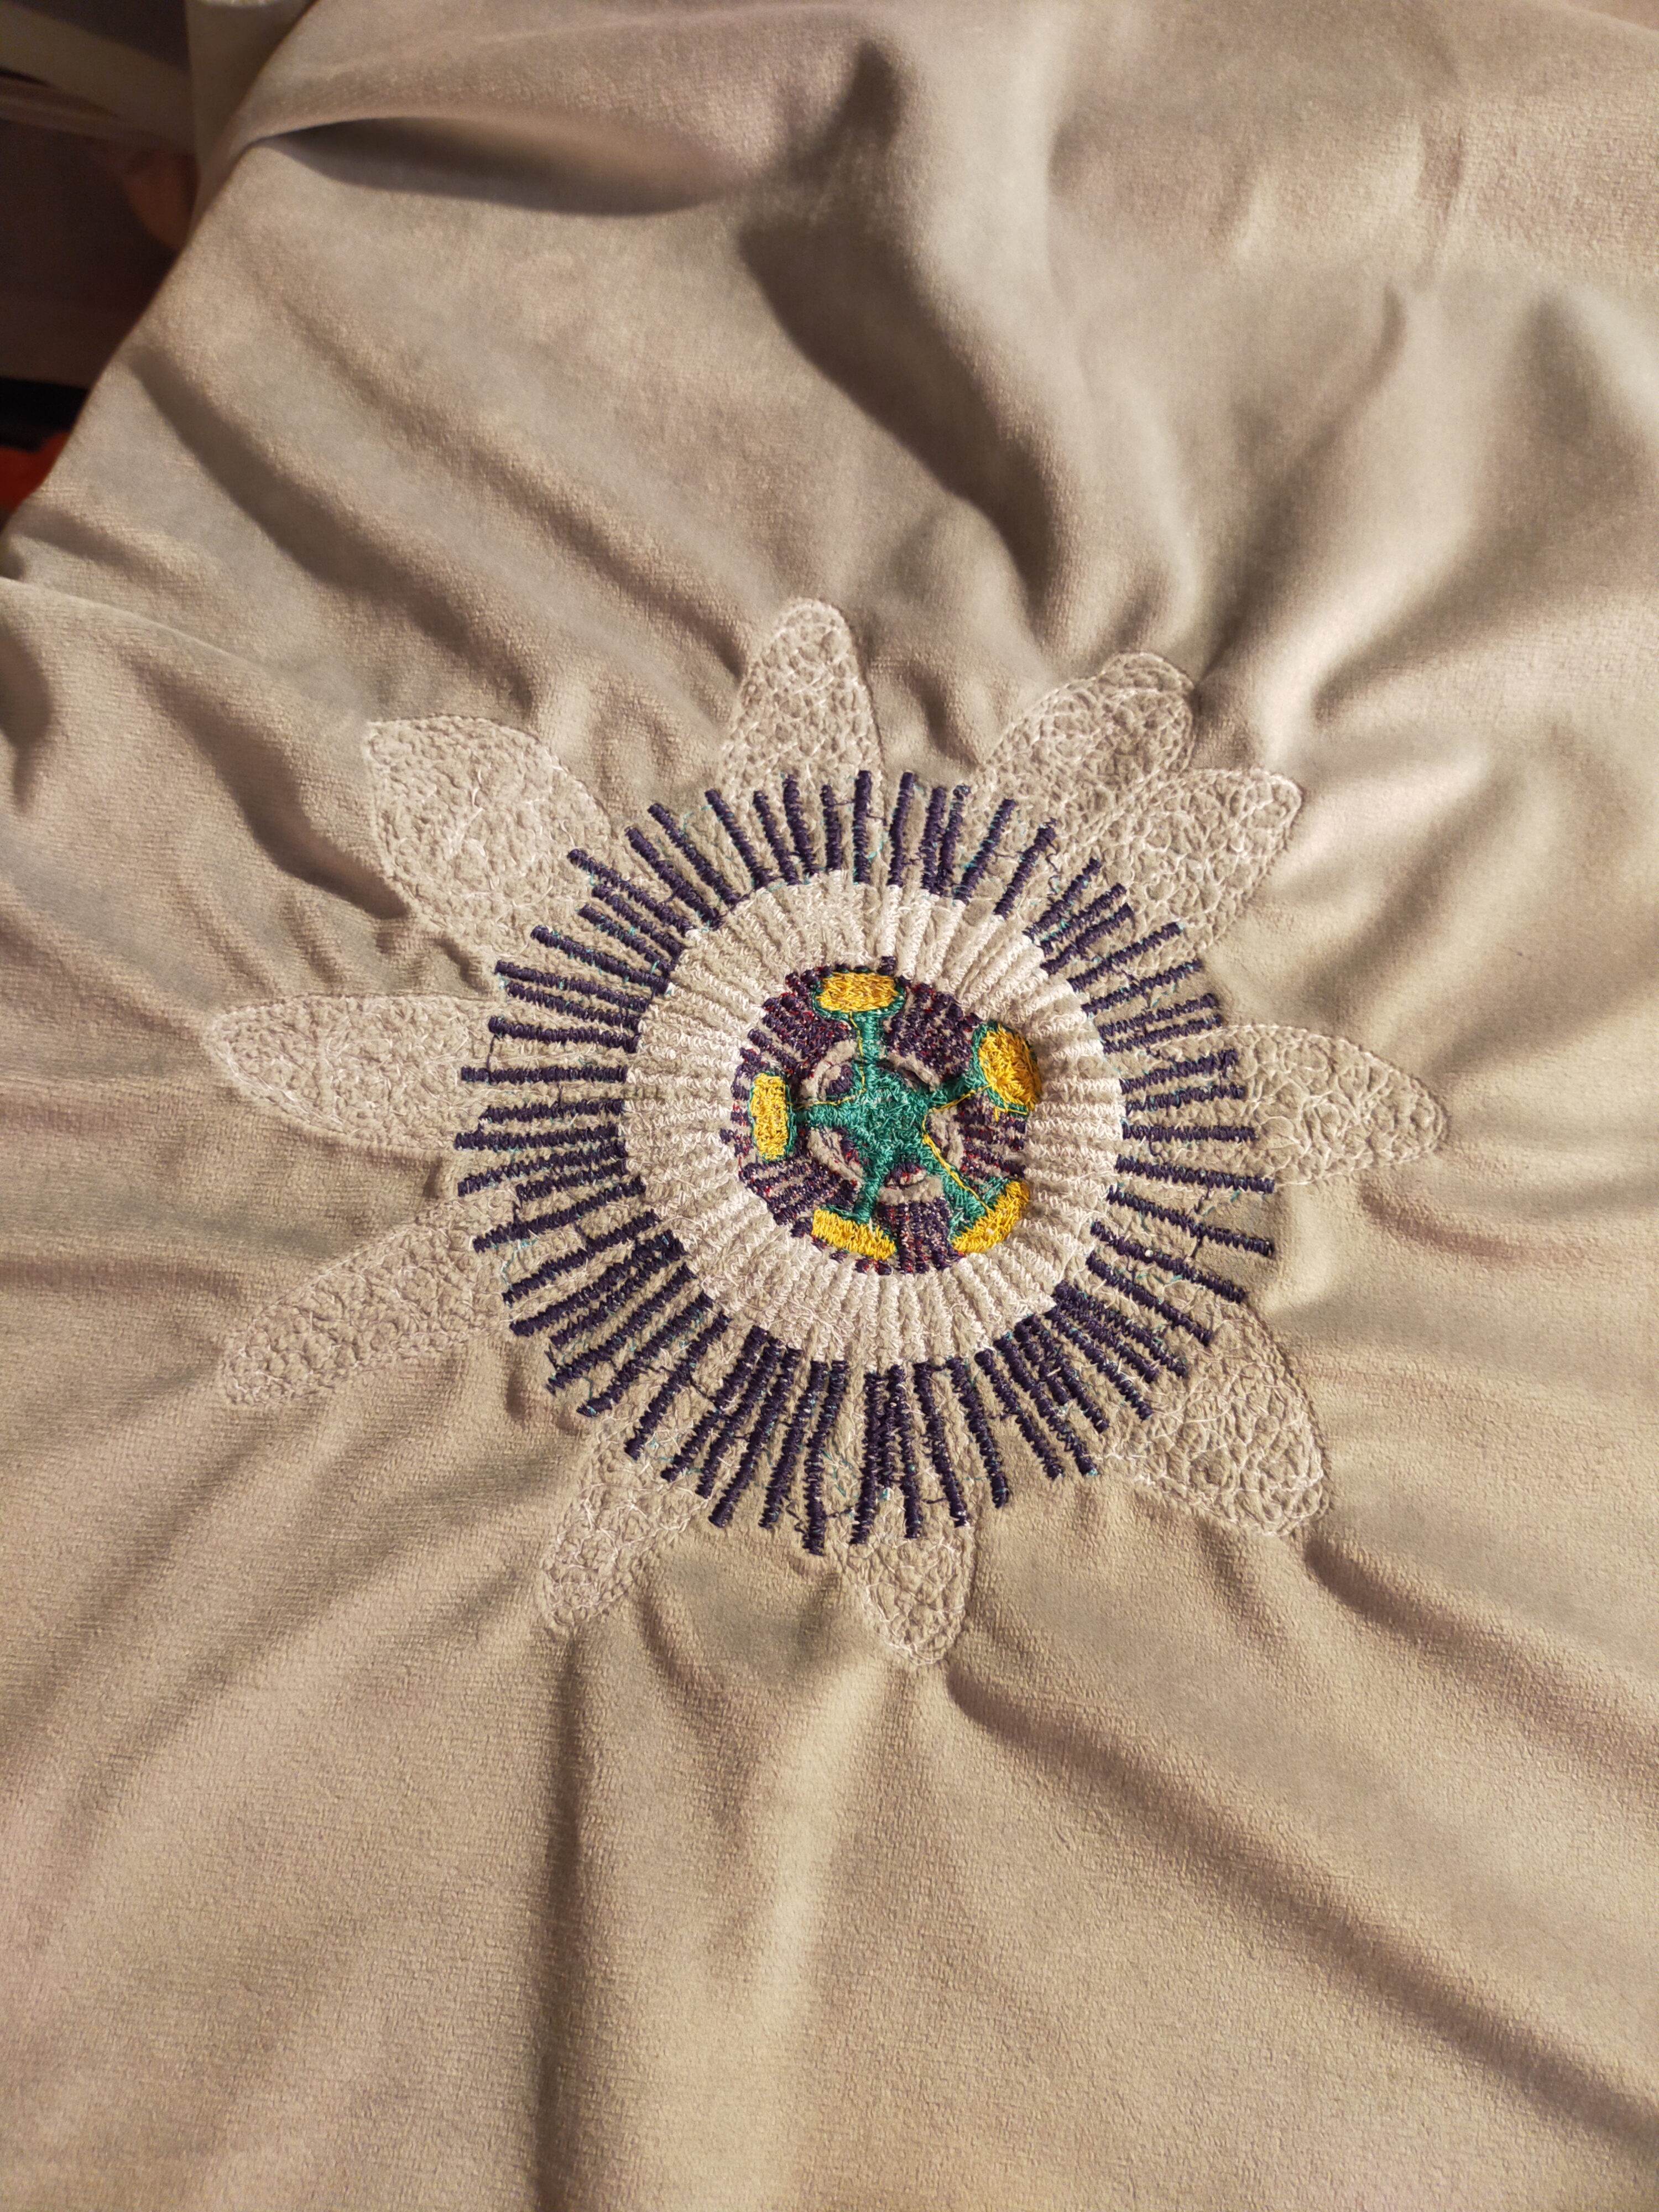
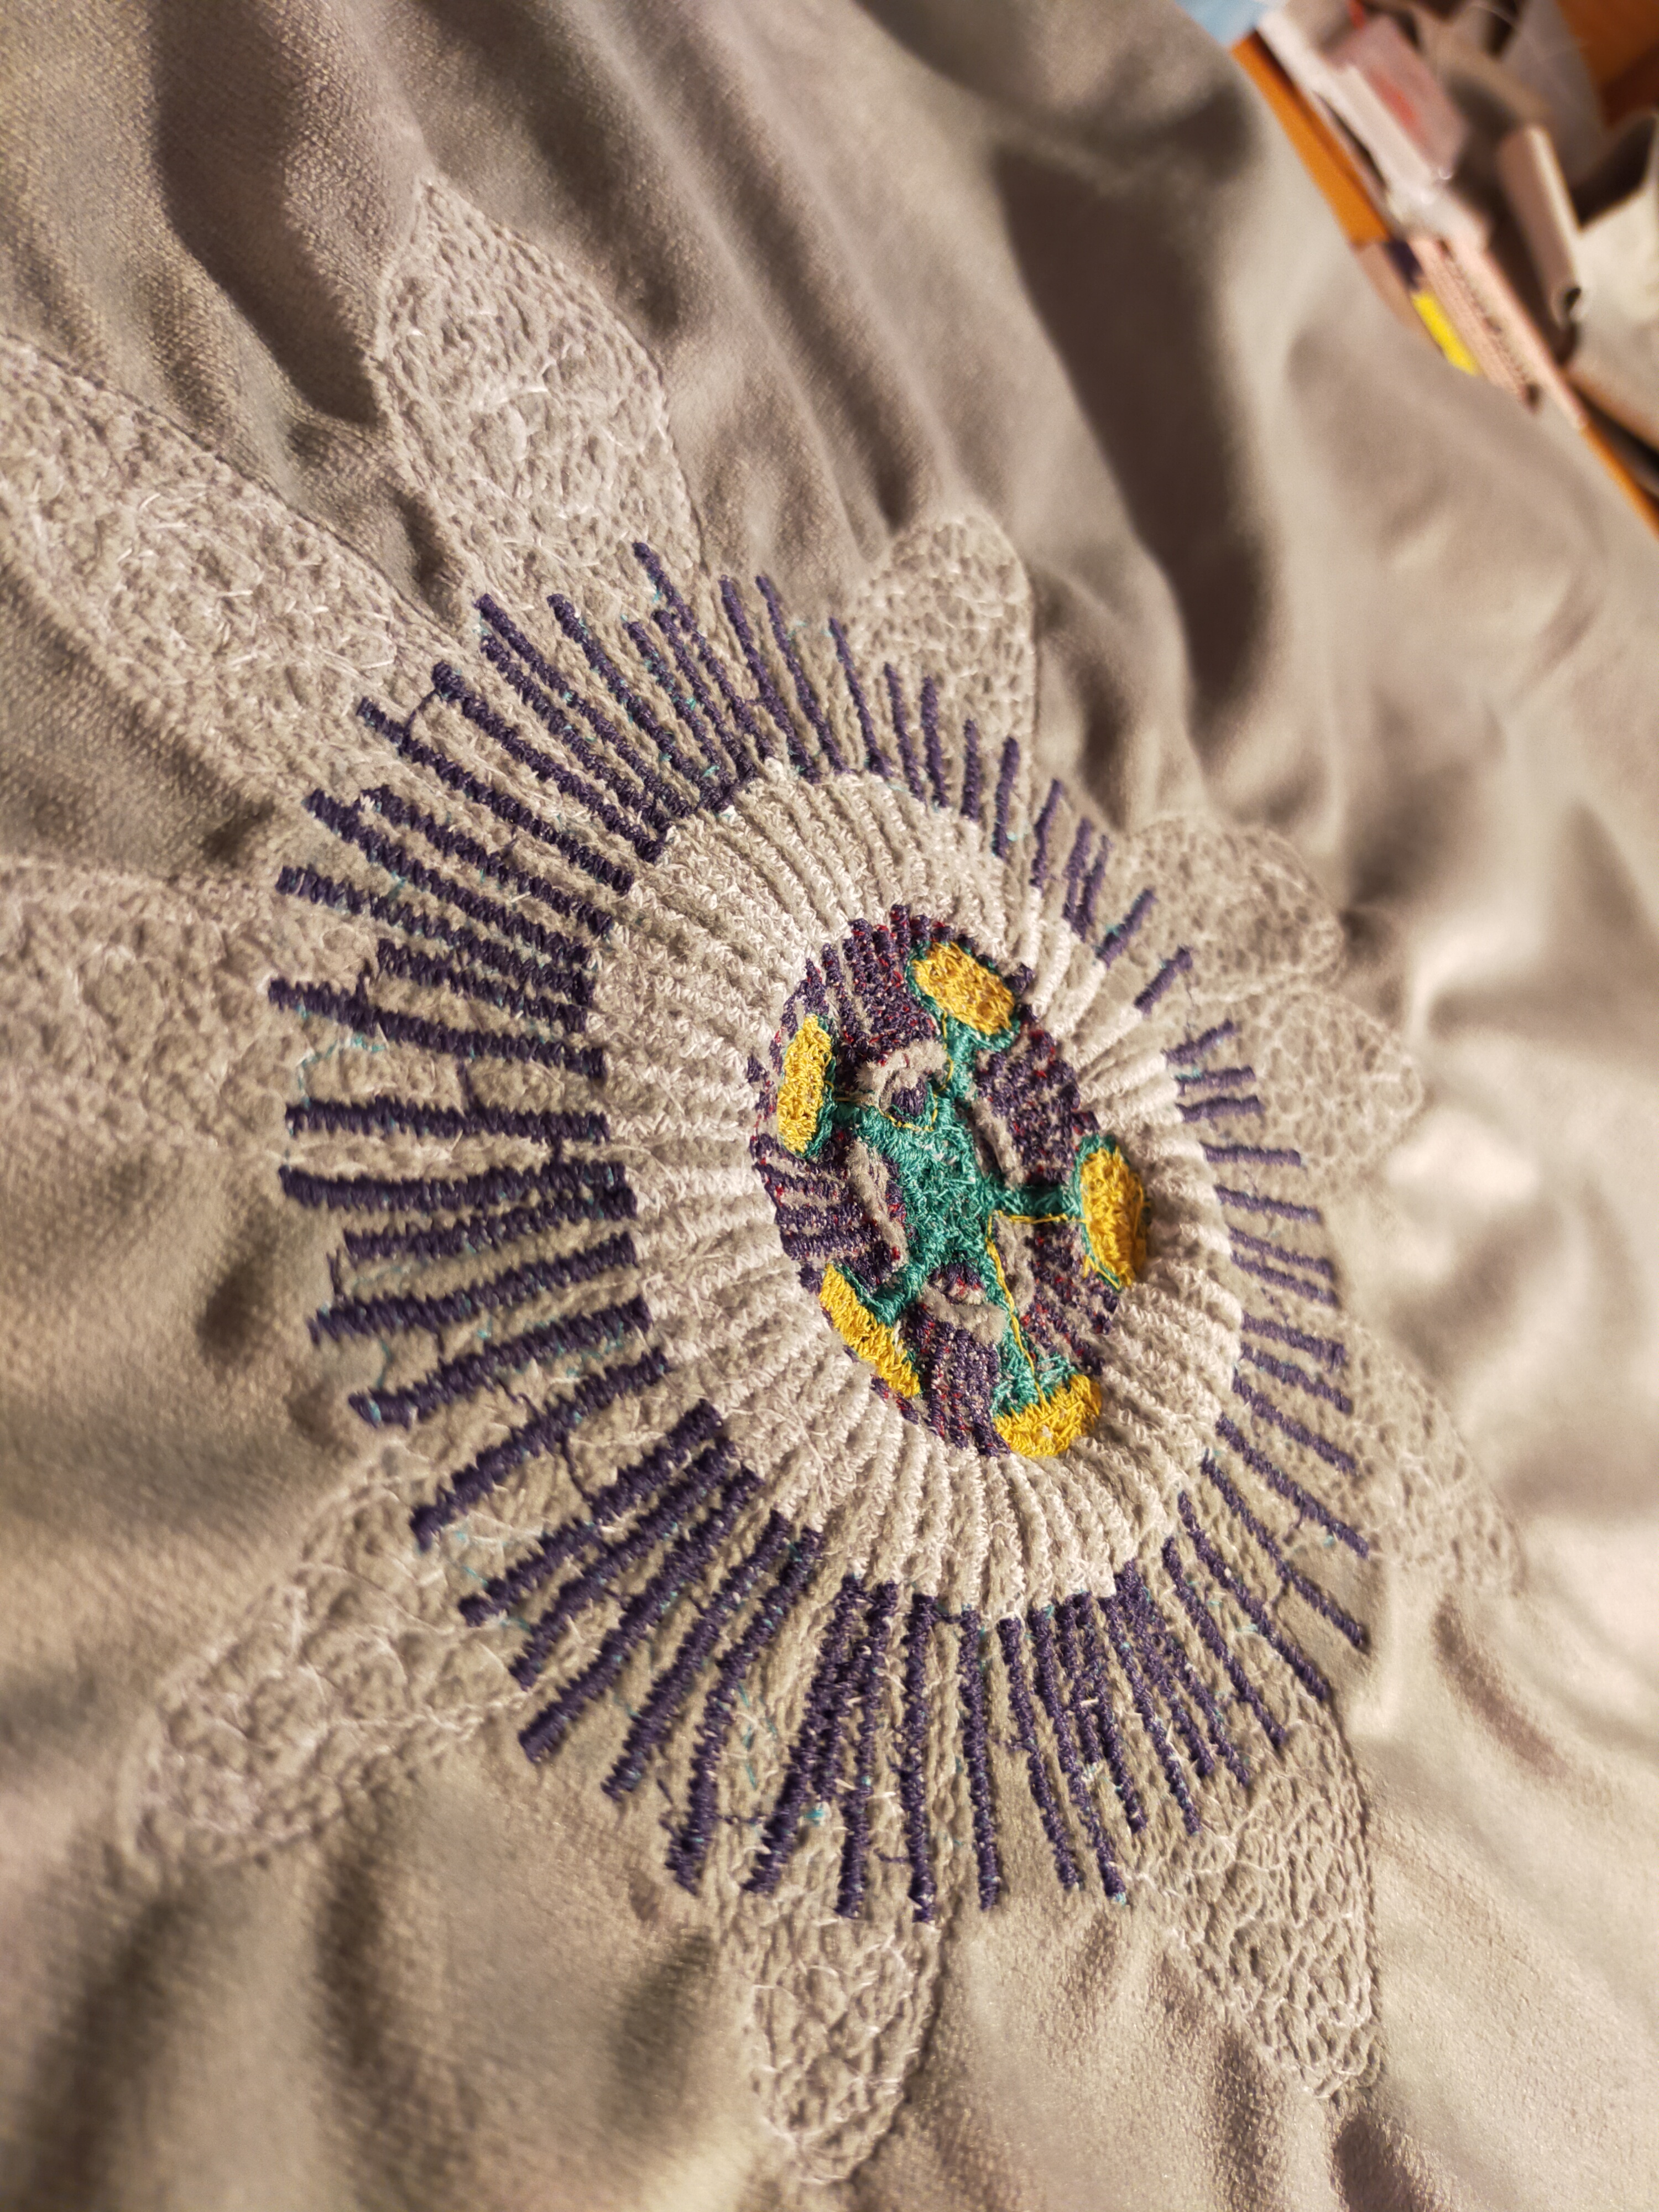
Pretty quickly ended up with thick enough layers of thread that I switched to a sharp needle rather than the stretch I set out with (because the velvet is a knit), as I was worried the ballpoint would snap against the built up embroidery. I also had to change feet around a bit as the small clear plastic embroidery foot I started with got injured when it got nudged under the needle by a bump of embroidery. Next time would try to not layer any parts/colours unnecessarily, to avoid so much build up.
My Jones VX807 doesn’t have any fancy stitches so it’s all just zigzags between 0-3, and a relatively low needle thread tension. Thicker thread would’ve been a good idea. I also didn’t use a hoop as none of my hand-embroidery ones fit under my presser foot.
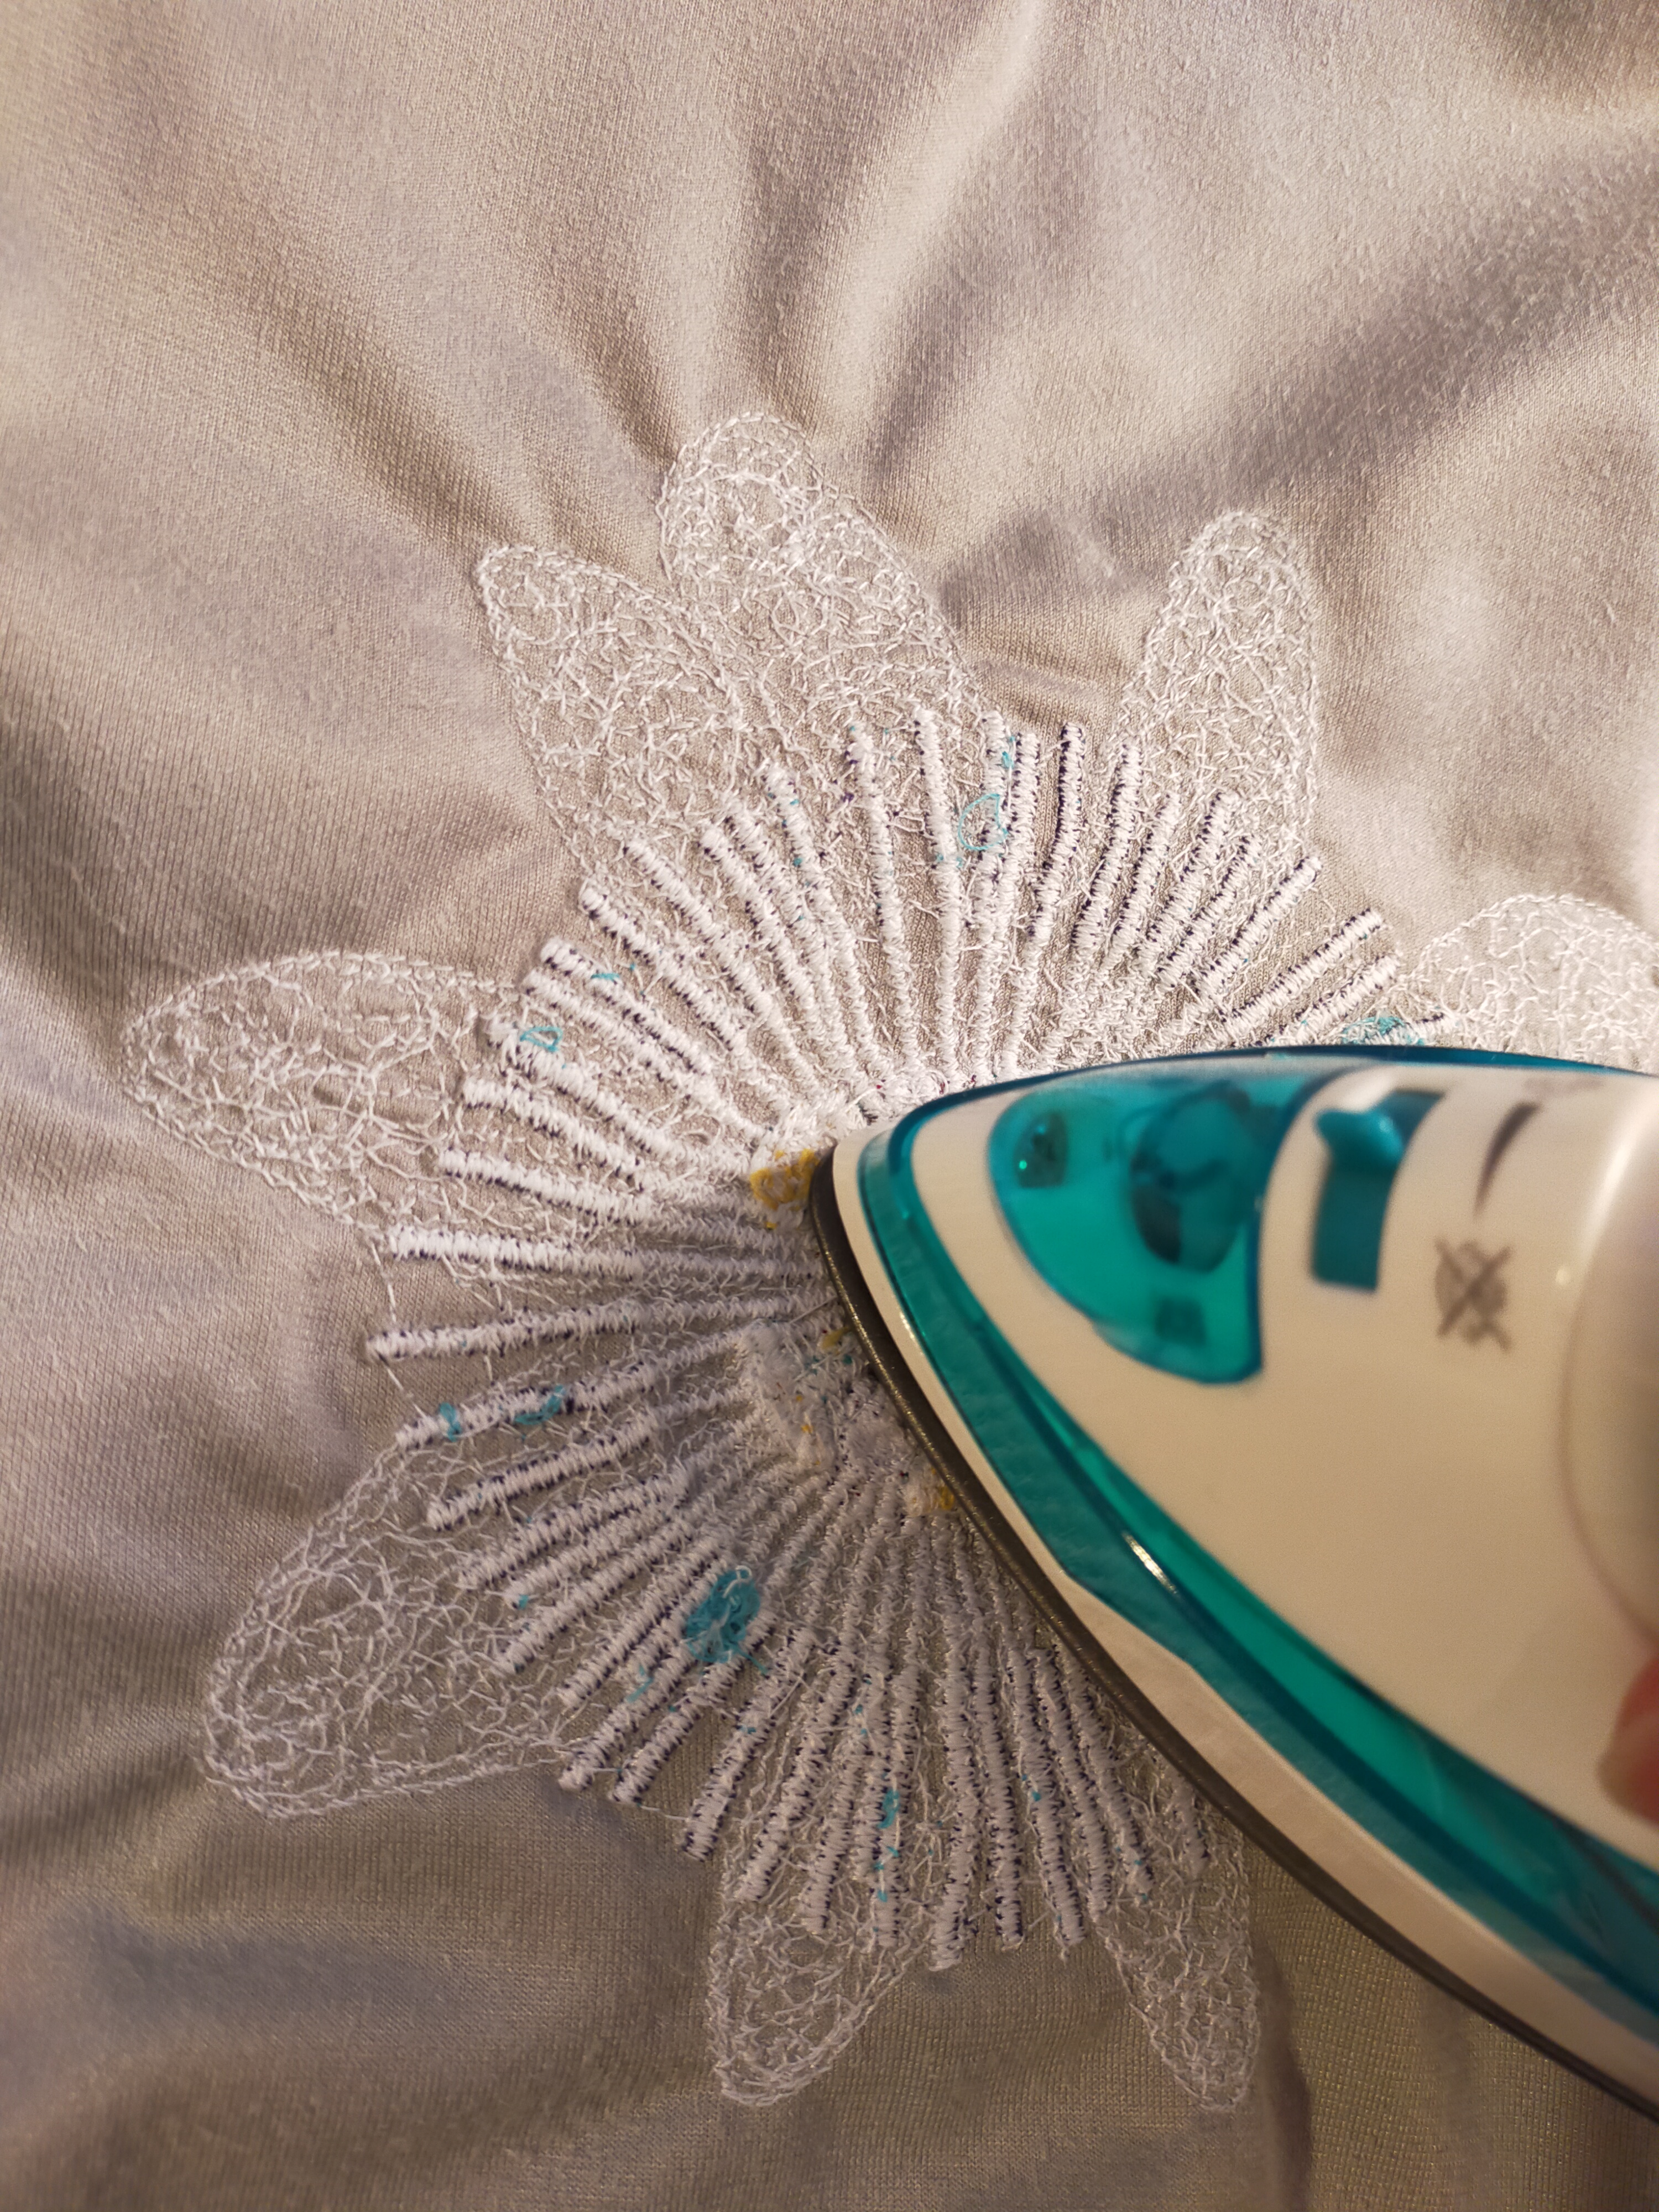
The embroidery did warp the fabric a bit (it’s a pretty sturdy knit velour but maybe I should’ve put something to stabilise behind it?) but the nap handled steam fine so I set at it with my mini quilting iron and got it flat enough to be happy with. This did involve jabbing the point of the iron into some warped up bits and using a surface without much give as an ironing board.
I planned to write PASSIFLORA CAERULEA under the flower but had a bit of trouble (a tizzy) when I started trying to be neat enough for text. After fighting with the tension and the fabric for a while I realised I was hungry so it was never going to work. Rule 1 in my house is always snacks.
Post-dinner I got straightened out: decided to experiment with stabiliser*, changed the bobbin thread to match so it didn’t matter so much if it’s visible, switched to a new sharp needle rather than the stretch I’d gone back to, changed my presser foot for a larger sturdier fellow, and as usual cleaned and rethreaded the machine for good measure. No idea what, but something there made enough of an improvement to get me happy with my lettering.
*by which I mean I used a glue stick to glue a rectangle of soft denim cut from worn out jeans onto the wrong side of the velvet. This is not a high falutin operation I’m running. I used pins to mark my judgement of how big my text should be (having marked out in blue chalk for my letters to be 2cm tall with 1cm between them) and just made sure the rectangle to be a couple cm larger in each direction.
I actually suspect as central culprit the darning plate, which got nicked in a tussle with the lumps of embroidery making up the anthers of the flower. I’m also always suspicious of my tension plates, and on this project I seem to be getting the bottom thread visible up top even with a very low top tension (which then causes other problems, so I turned the top tension back up and made do with matching the bobbin thread). Maybe that’s something to do with the velvet or repeated zigzag or darning plate, but I’d better get the machine serviced so I’m sure it’s not a mechanical tension disk issue. Unfortunately that probably means carrying her onto the bus to Abingdon….
So far, so good. Slightly wonky or misaligned perhaps, but I’m not even trying to look like I’m aspiring to be a computerised robot, and this will only be really my 2nd garment ever constructed, and my 1st attempt at pictorial machine embroidery, other than some life drawing (which is really only line-work). Additionally with this project I’m trying to let go a bit –
- wing it and learn from play and experimentation
- ease up the pressure so I do actually take some steps and make some progress (precision will come with practice, not before)
- make peace with ‘good enough’ (and practice learning there are many ways to skin a cat)
(You may be thinking, why is he being a crazy person and spending all these embroidery hours on an experimental project that likely will turn out shoddy. Well, I won’t argue. If it turns out truly awful I will just cut out the flower and make it into a patch or frame it or something).
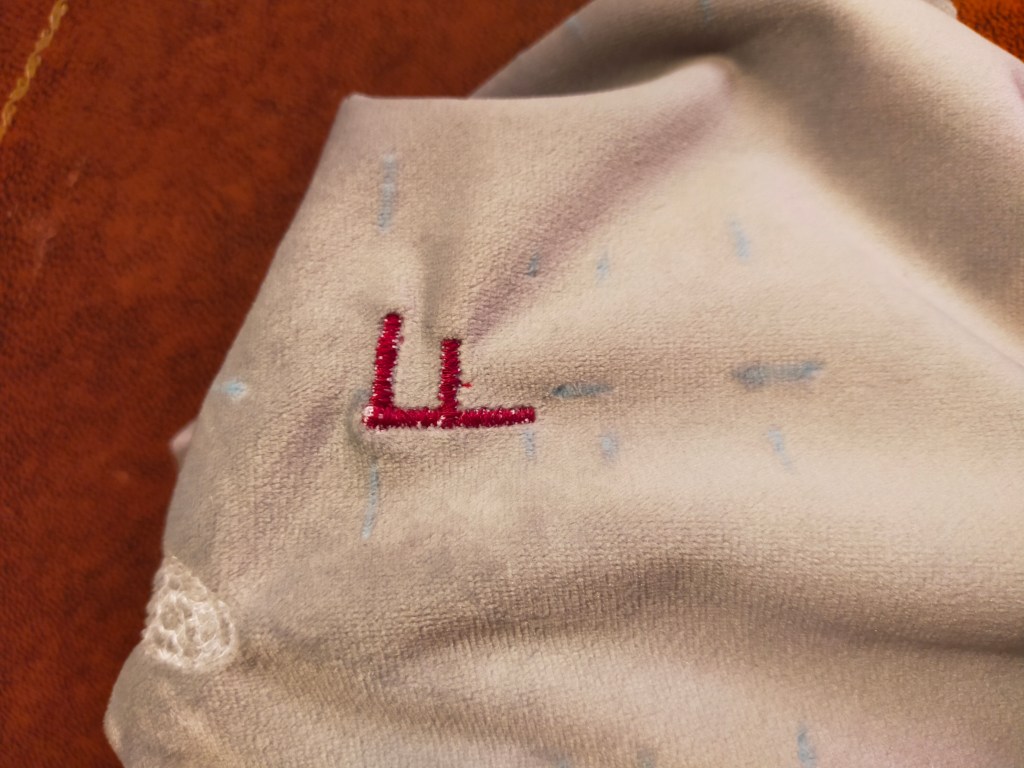
Back to it! CAERULEA will be done in a new colour because I’ve got some dark grey-blue stormy colour thread that I’d like the chance to use and wear, and why not mix colours 🙂 doesn’t hurt that caerulea does actually mean blue, of course. Just after I fix that F.
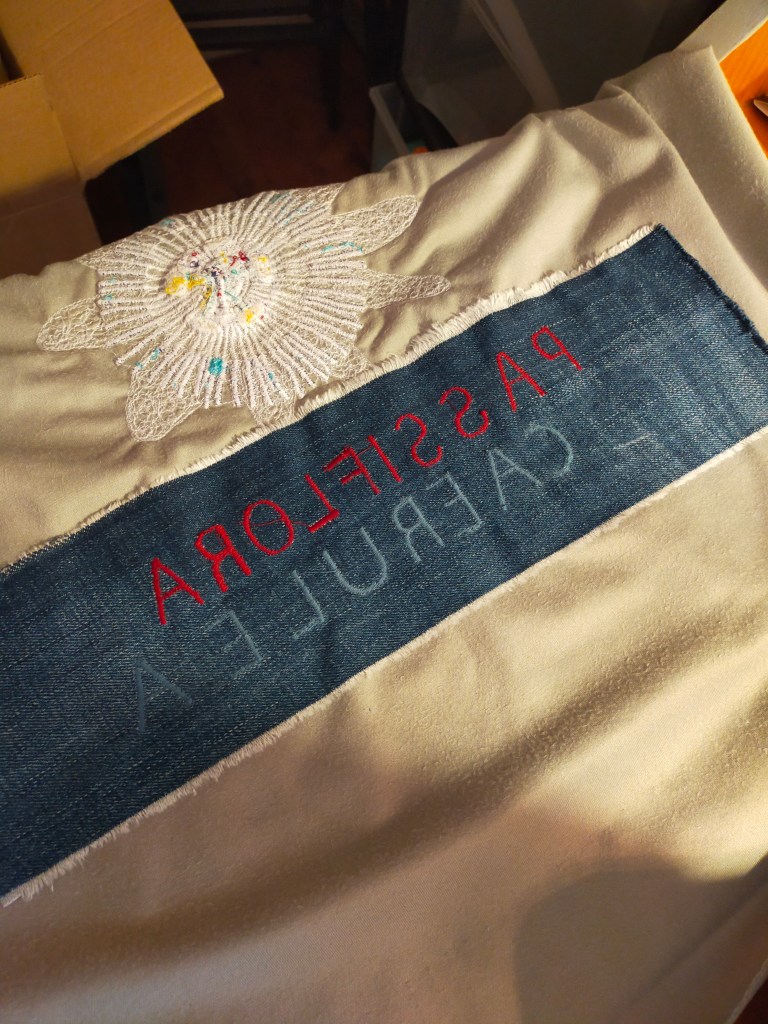

Well, there we go! I’m pretty happy with that for freehand embroidered text with only a few vertical guide marks. It’s mildly unfortunate I didn’t decide I wanted to keep all the zigzags on the same lateral orientation (rather than turning my work) until after I’d done a few letters, but I’ll get over it. I started from the middle of each word and worked outwards; the first half of PASSIFLORA ended up more spaced out than the second half, so I tried to do the reverse with CAERULEA and make it look like an effect. I think I succeeded enough. Good enough is good enough! I actually really love how the reverse looks on that frayed denim as well, especially the red. Sort of like a spell, what with it being backwards. I will have to do a patch or something along those lines.
Surprise, surprise, the denim stabiliser would’ve worked better if it were secured with, eg, fusible, rather than just pritt stick. The glue stick dried out overnight and the second day of work (the second word) had the denim moving about more and being less effective. I’m also left uncertain knowing how to finish the edges of it. Maybe some hand catch stitching that won’t be visible from the front.
Anyway – embroidery done! Now to experiment with tension for the new twin needle I got. That, and check the sizes on those cuffs I’m reusing.
